June 25, 2026
Work session — June 25, 2026
Day two of the build, documented on video.
2 photos · 14 videos
Photos
Videos
0:00
2:10
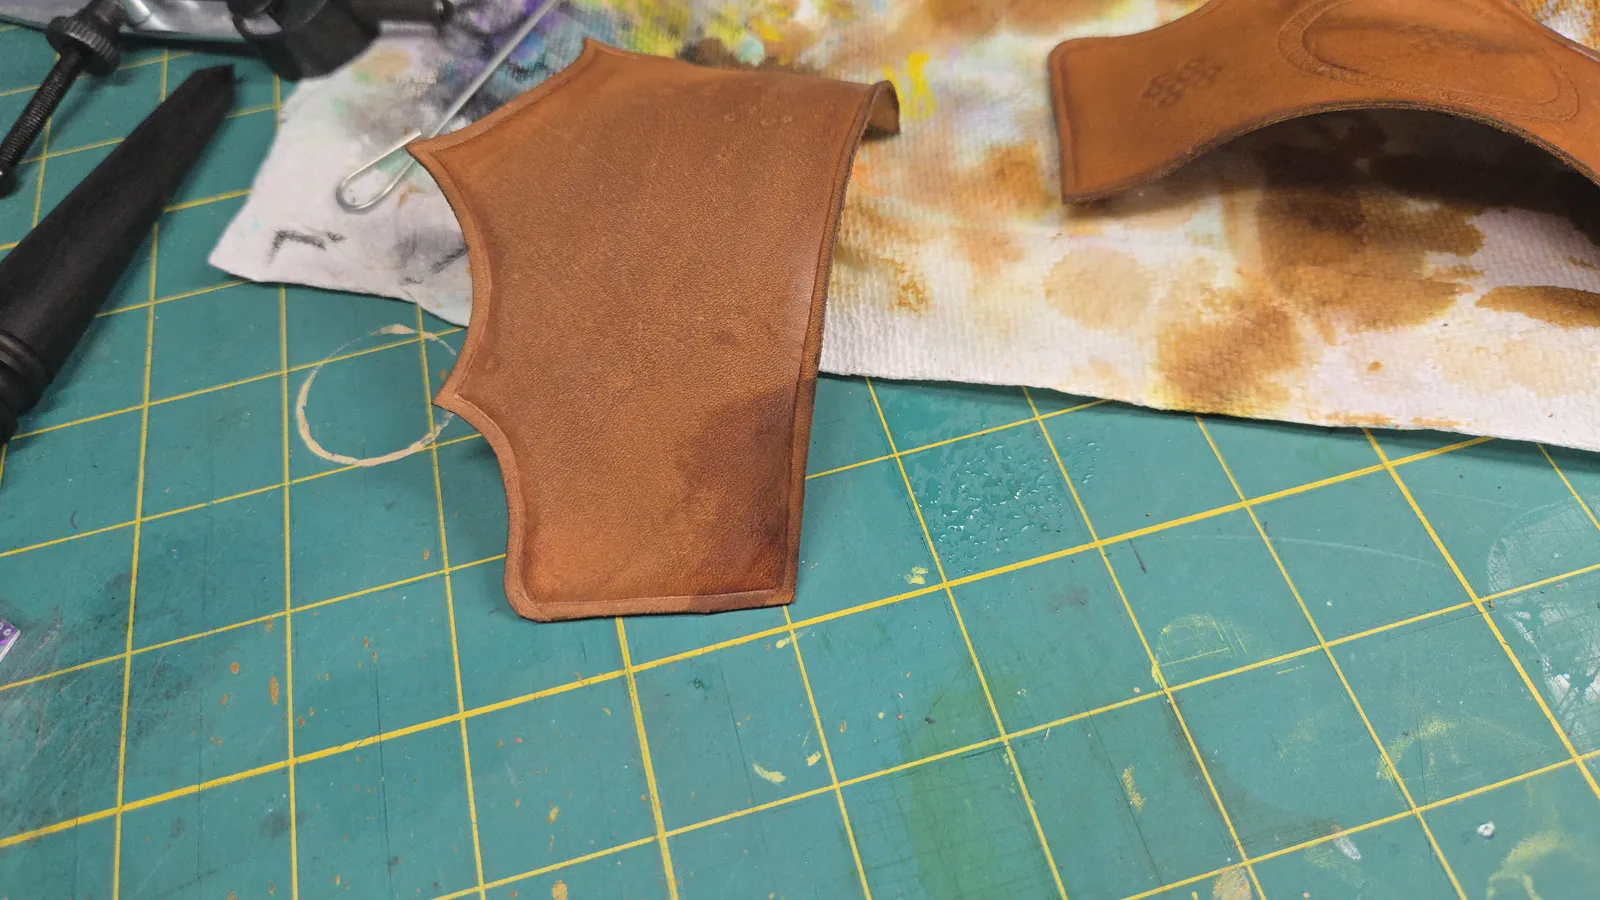
So I want to share with y'all a quick tip that I had to learn yesterday because I pressed an image onto one of the pieces of my Bracer that I'm making you can still kind of see it here, but it was a lot darker. So once this piece has Been Completely finished painted and Shined up That will almost be completely invisible So if that happens to you and you put something and it's misaligned I want to show you that's not the end of the piece. You don't have to start over. I Just re-wet the pace make it even wetter than it currently is and I take my slipper tool and Use the ball end of it and place it on a very flat surface and Rub it around kind of like an eraser I'm just going to do half so that you can see the difference here and Whereas it does not completely Get the image off Does kind of erase a little and of course the harder you press the more it will Disappate But it saves your piece so you don't have to start over With misaligned images that have been pressed onto it. You can see that the more I work it the more it Just kind of disappears So that's a really cool tip If you're working with leather and you've done something and it wasn't aligned properly and you you want to save the image
0:00
1:46
So last night I left these two pieces on my clip jar held upside down To try to hold their shape. So when I woke up this morning, I did have Evidence of where the clip was held in place as you can see here. There's two little marks. I can use that same Rewetting and rubbing technique to remove That imperfection that I don't want on my finished piece. Even though this is going to be on the inside Of the piece it'll never be seen. This is a good example just to show you. I wet the area and which Those little marks have been pressed into the leather that I don't want and I grab again my slicker tool and And I just kind of rub that area Slightly flatten it out and I take this tool, which is what I had used to bevel in this This line here to give it more interest and then I'm going to take this tool and Rework that area straighten it up Press it nice and hard And there Just sharpen that out and just like that Those little marks have vanished completely
0:00
0:02
(no speech detected)
0:00
2:20
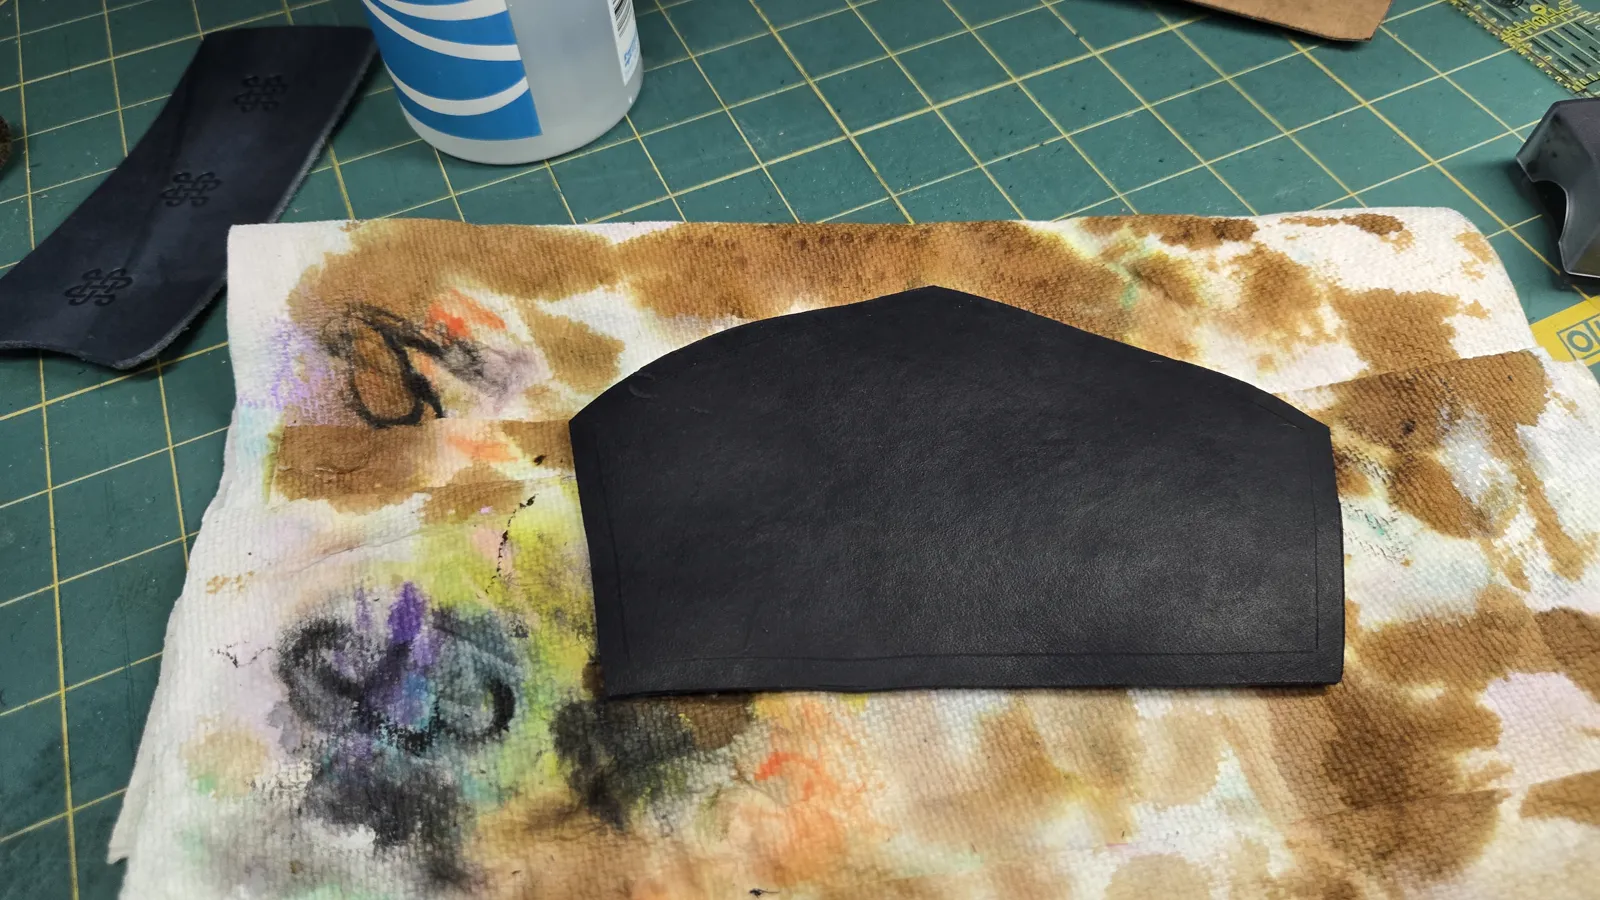
We are now on to what I consider the most tedious part of this project and that is this large blue panel on the back. So we are going to need our compass here to create that line. It is a little bit thicker line. See this is what I used here and then up here you can see it's probably about double that. So I'm going to be creating that line. I'm going to be creating these two pieces here with this tool. Now there are two of these in my set. This one runs side to side. There is another one that runs up and down. So just depending on the look that you're going for you can decide which one of those you want to use. So I'm going to be wetting my piece and applying those. But I start with this center piece here to make sure that it's lined up with the point and that way I can get everything kind of centered. So for that I use this guy. It's kind of like a sunflower center. Not quite, but it's a very intricate cute little piece. The trick with this guy is when you have it in the press if it's not completely straight you're not going to get all the detail all the way on the sides here and it's going to be uneven. It won't be a perfect circle. So what I actually do is I will tilt it in my press sideways just a little as I'm pushing down to make sure that I get all of this design to be visible and a perfect circle. And then I use my half moon or my scallop for this section here and you want to do the same thing. You want to press really good here, but you also want to kind of tilt it to make sure that it goes all the way out.
0:00
1:04
Here you can see I have opened my wing divider here and Scored that line going all the way around now. I know that I can I like to do this actually with the project Dry it tends to leave a deeper scratch more visible when it's wet The the material gets darker and your line kind of gets kind of muddied and it's harder to see So I like to do this part first with the material dry then I will wet it and I Will take a quick This is how I measure I will put my finger at the top of this point here, and I see that the top of this Decoration here goes right to my knuckle. So That's how I'm gonna measure I'm gonna put my finger here Go right to the top of the knuckle, and I'm gonna Emboss right there, and and that's how that's done in my workshop
0:00
0:59
Another quick tip. Once I have my material moistened, I want to head and spray this probably three or four times and wait in for all of the water to absorb. If you get this too wet and the water shows through the back, chances are when you are pressing your image you're going to get a pool of water in the little crevices of your design and it's not going to come out as deep and dark as you would like it to because the water is actually creating a barrier between the image of the stamp and your material so it's not going to be as crisp and clear so you don't want to get your material too wet or you will be shooting yourself in the foot.
0:00
1:10
Here we are at the press. I am just about to put that image on and so you can see I just measured the top of this is going to be fingernail plus whatever So then we give it a good push And like I said, I like to hold for five to ten seconds depending on the thickness of the material And how much I really want it on there. So right now. I believe this is as straight up as possible But when I release it, you'll see that sometimes The image doesn't come out Even let's see how we did That one actually looks pretty good. So I'm not gonna have to redo it and tilt it I like the way that looks now we can go ahead and put on The half moon or scallop shape
0:00
0:41
For the next one, if you take a look at this piece, I have kind of tilted these down. They don't go straight across. There is a slight tilt to follow the curve of the leather of the design here. So that is what I'm trying to recreate. Here, this is less than a nail's width from the center image. So I know it's a little dark, but I think I've got the same amount of distance there and it is slightly pointed to follow this line here.
0:00
0:12
Okay, so that one looks good. I think we have achieved the look that we're going for and now we're going to place the same one on the other side.
0:00
0:07
Here they both are now just for the one on top
0:00
0:21
And there we go and to my happiness they do look very very similar again no measurements needed just a good eye so now I'm gonna put those two little ones coming off the side there and then we'll talk about the background
0:00
1:51
All right, and there we have our finished design now for the background I used a tool to make it look very kind of hammered and This I'm not gonna lie does take a while because the tool that you use is quite small and Comparison to the size of the piece so we're looking at Man just So small and You do have to get the entire Background of the piece. However, this center portion here Doesn't have to be done because when you apply all of the other pieces that Second piece does Cover that area So you don't really have to do that center there If you are the kind of person that likes to Hide your name or your initials on a piece That would be a really great place to do it. You could just Use your lettering you can even paint it on whatever you want to do and it's gonna hide there forever So you don't have to do that with this You also don't have to do this lower portion here because that is going to be attached and covered by Other pieces of leather So I will start in one corner and just hammer You can go in straight lines, but I find if you do that It looks Too uniform and we really kind of want it to look kind of chaotic and and hammered So I kind of go all willy-nilly
0:00
0:36
All right, so after about 10 minutes, maybe, depending on how fast you are, move working with that, you can place this piece down and make sure that you have gotten those everywhere. So this piece is actually going to go a little further down. So I do need to fill in that area there. It looks like that's the only place I missed. So we'll take care of that right now.
0:00
1:08