June 24, 2026
Work session — June 24, 2026
Day one of a multi-day build, documented on video.
16 photos · 12 videos
Photos
Videos
0:00
1:34
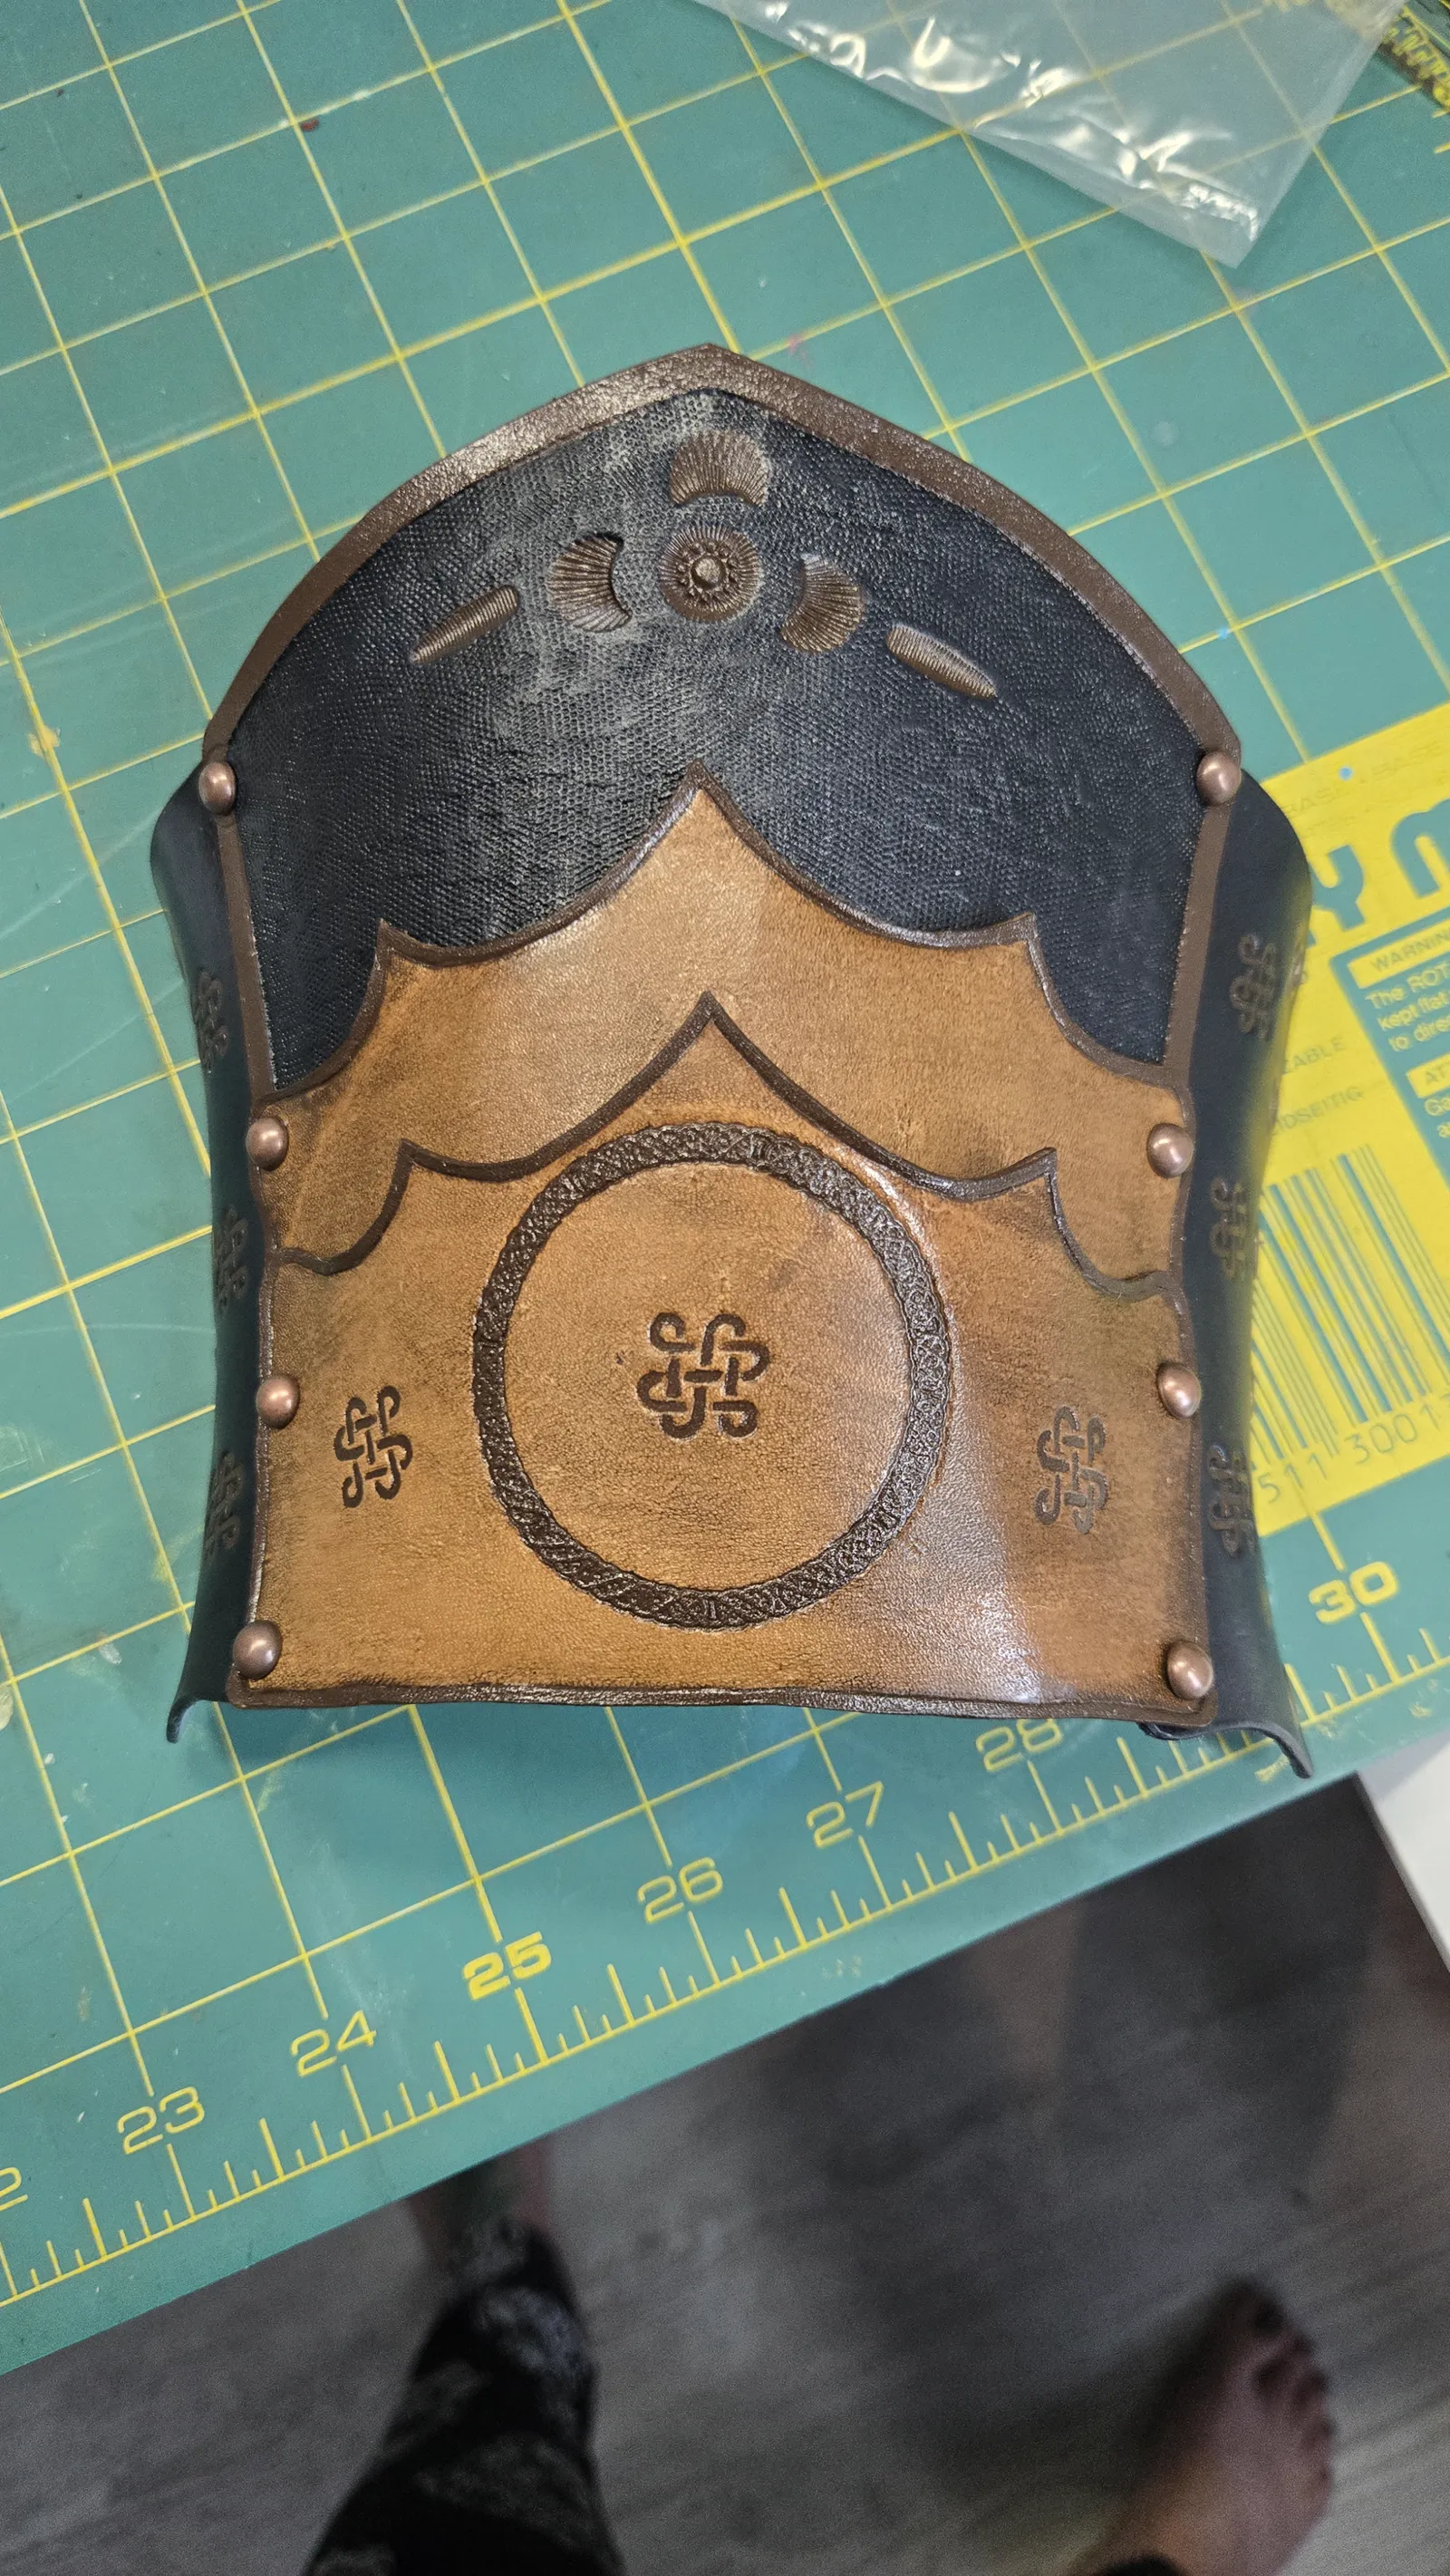
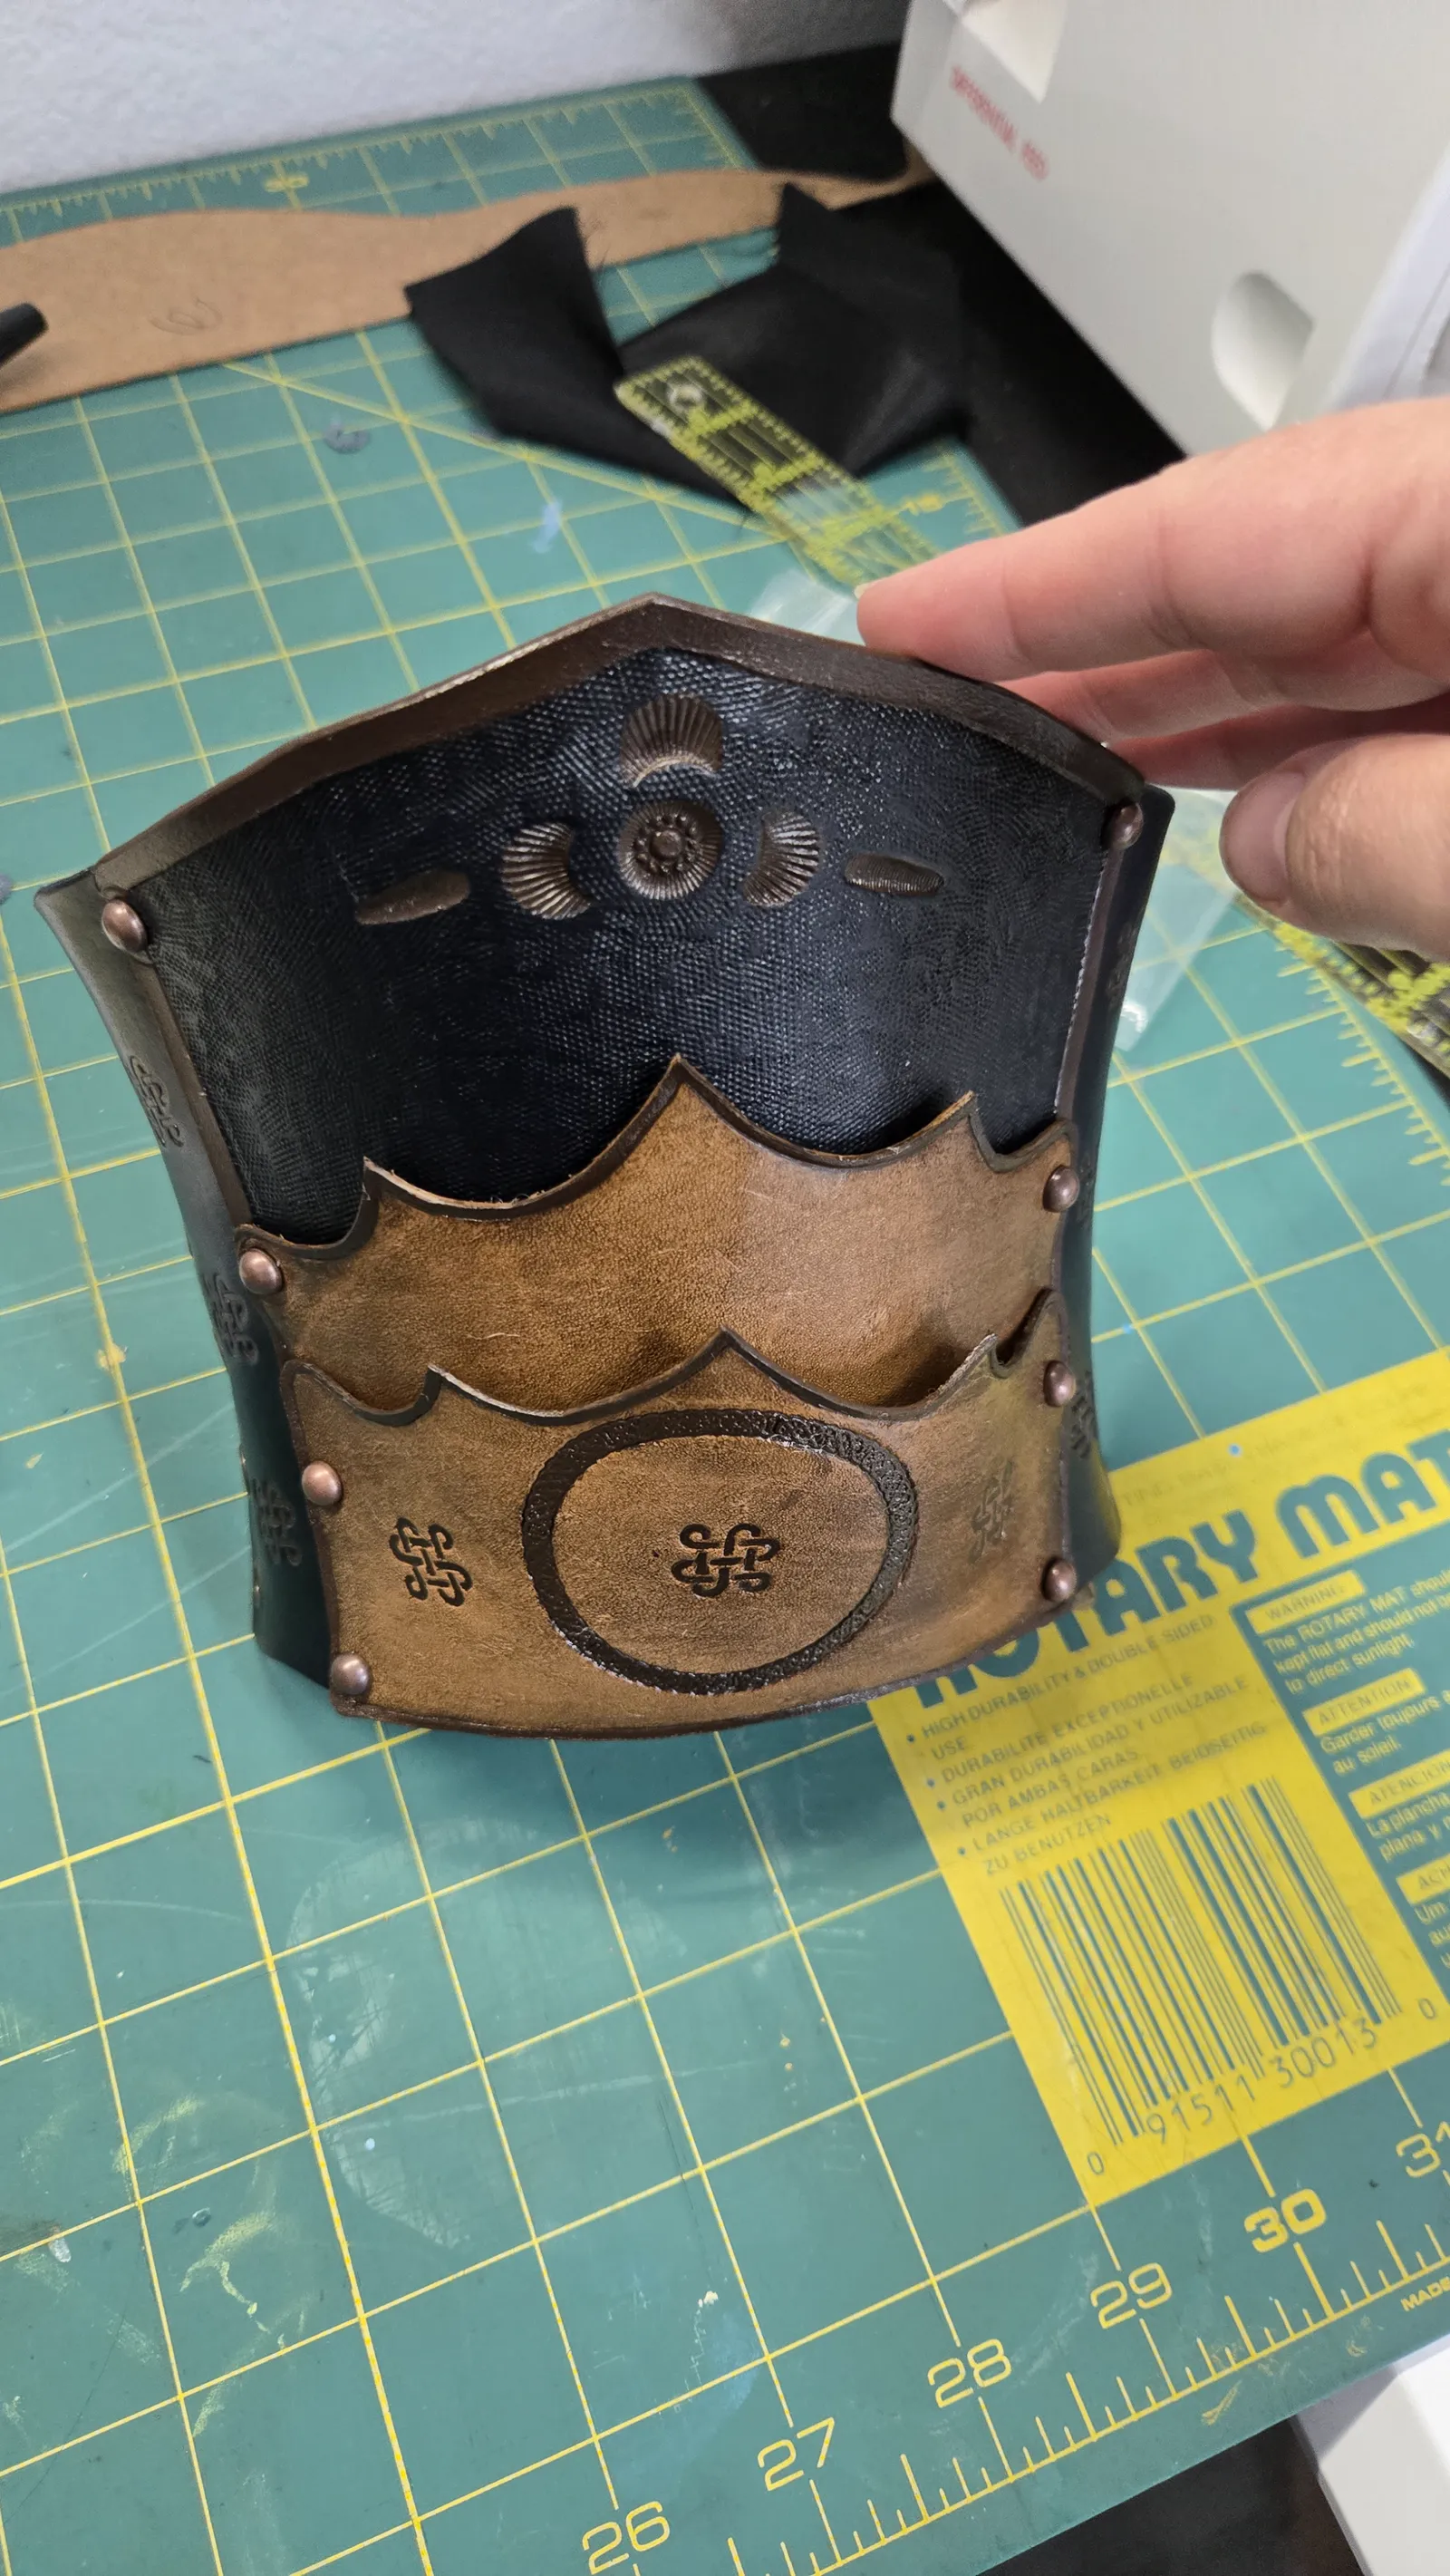
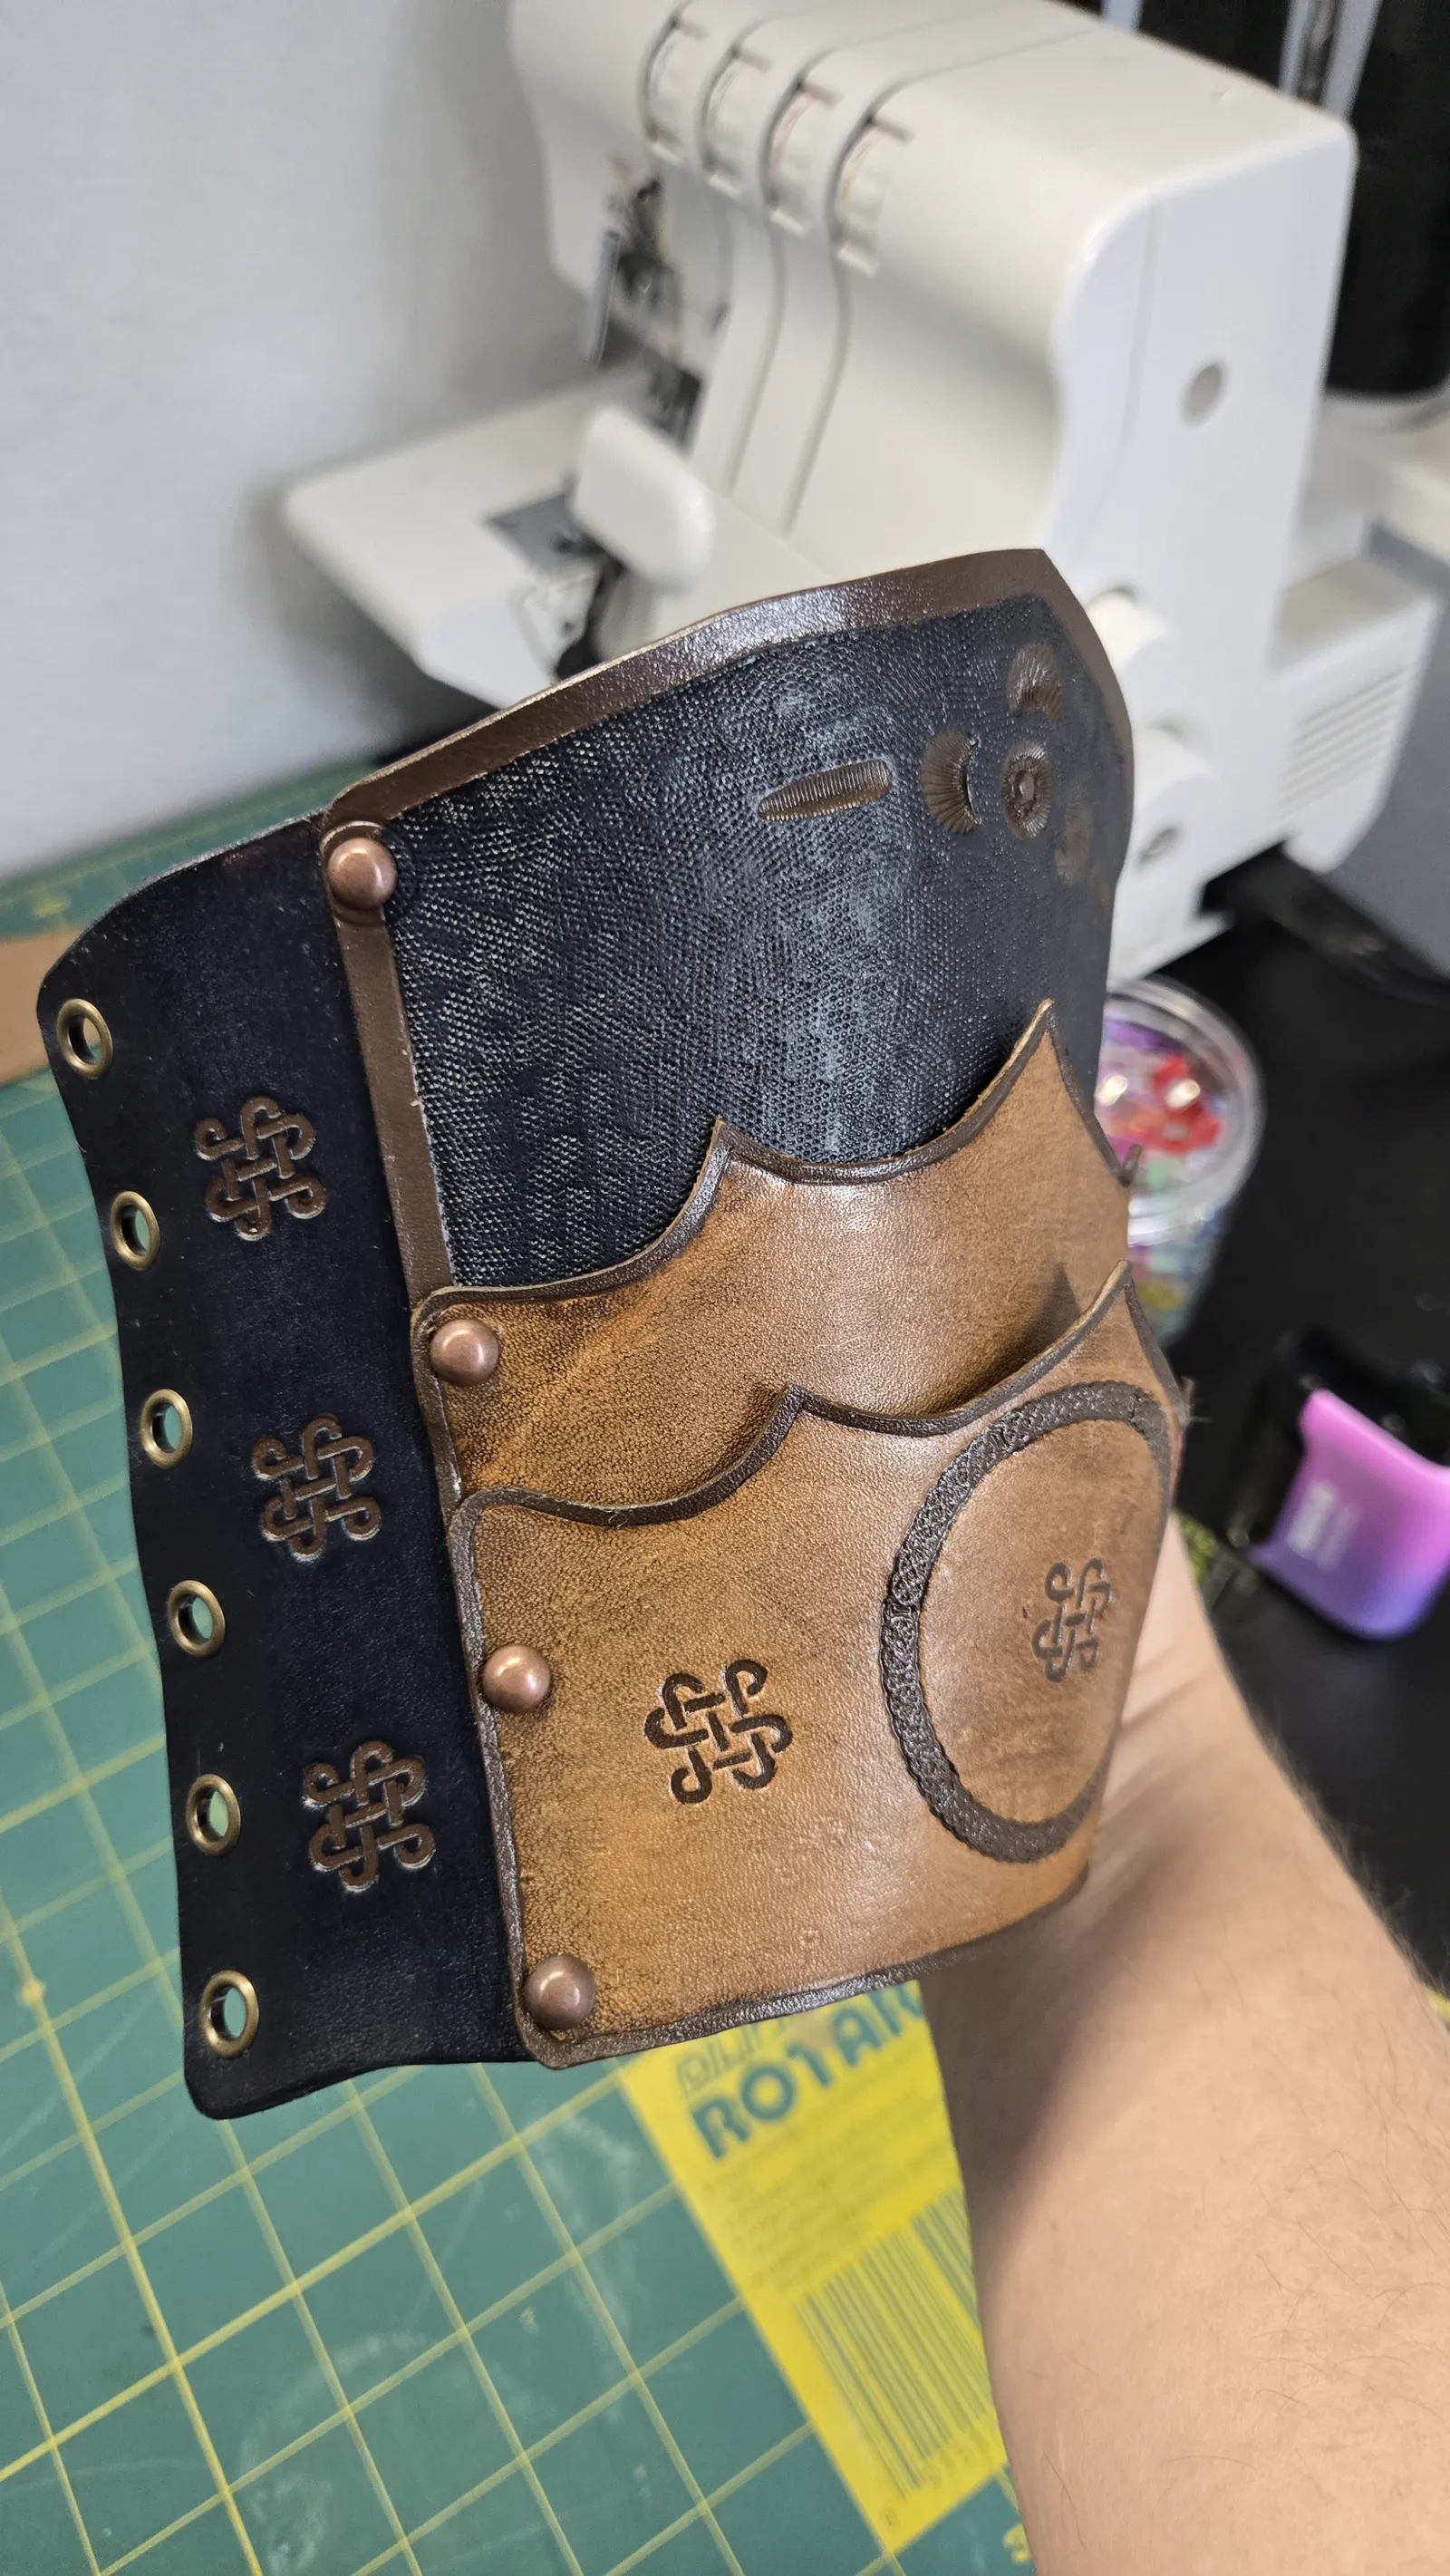
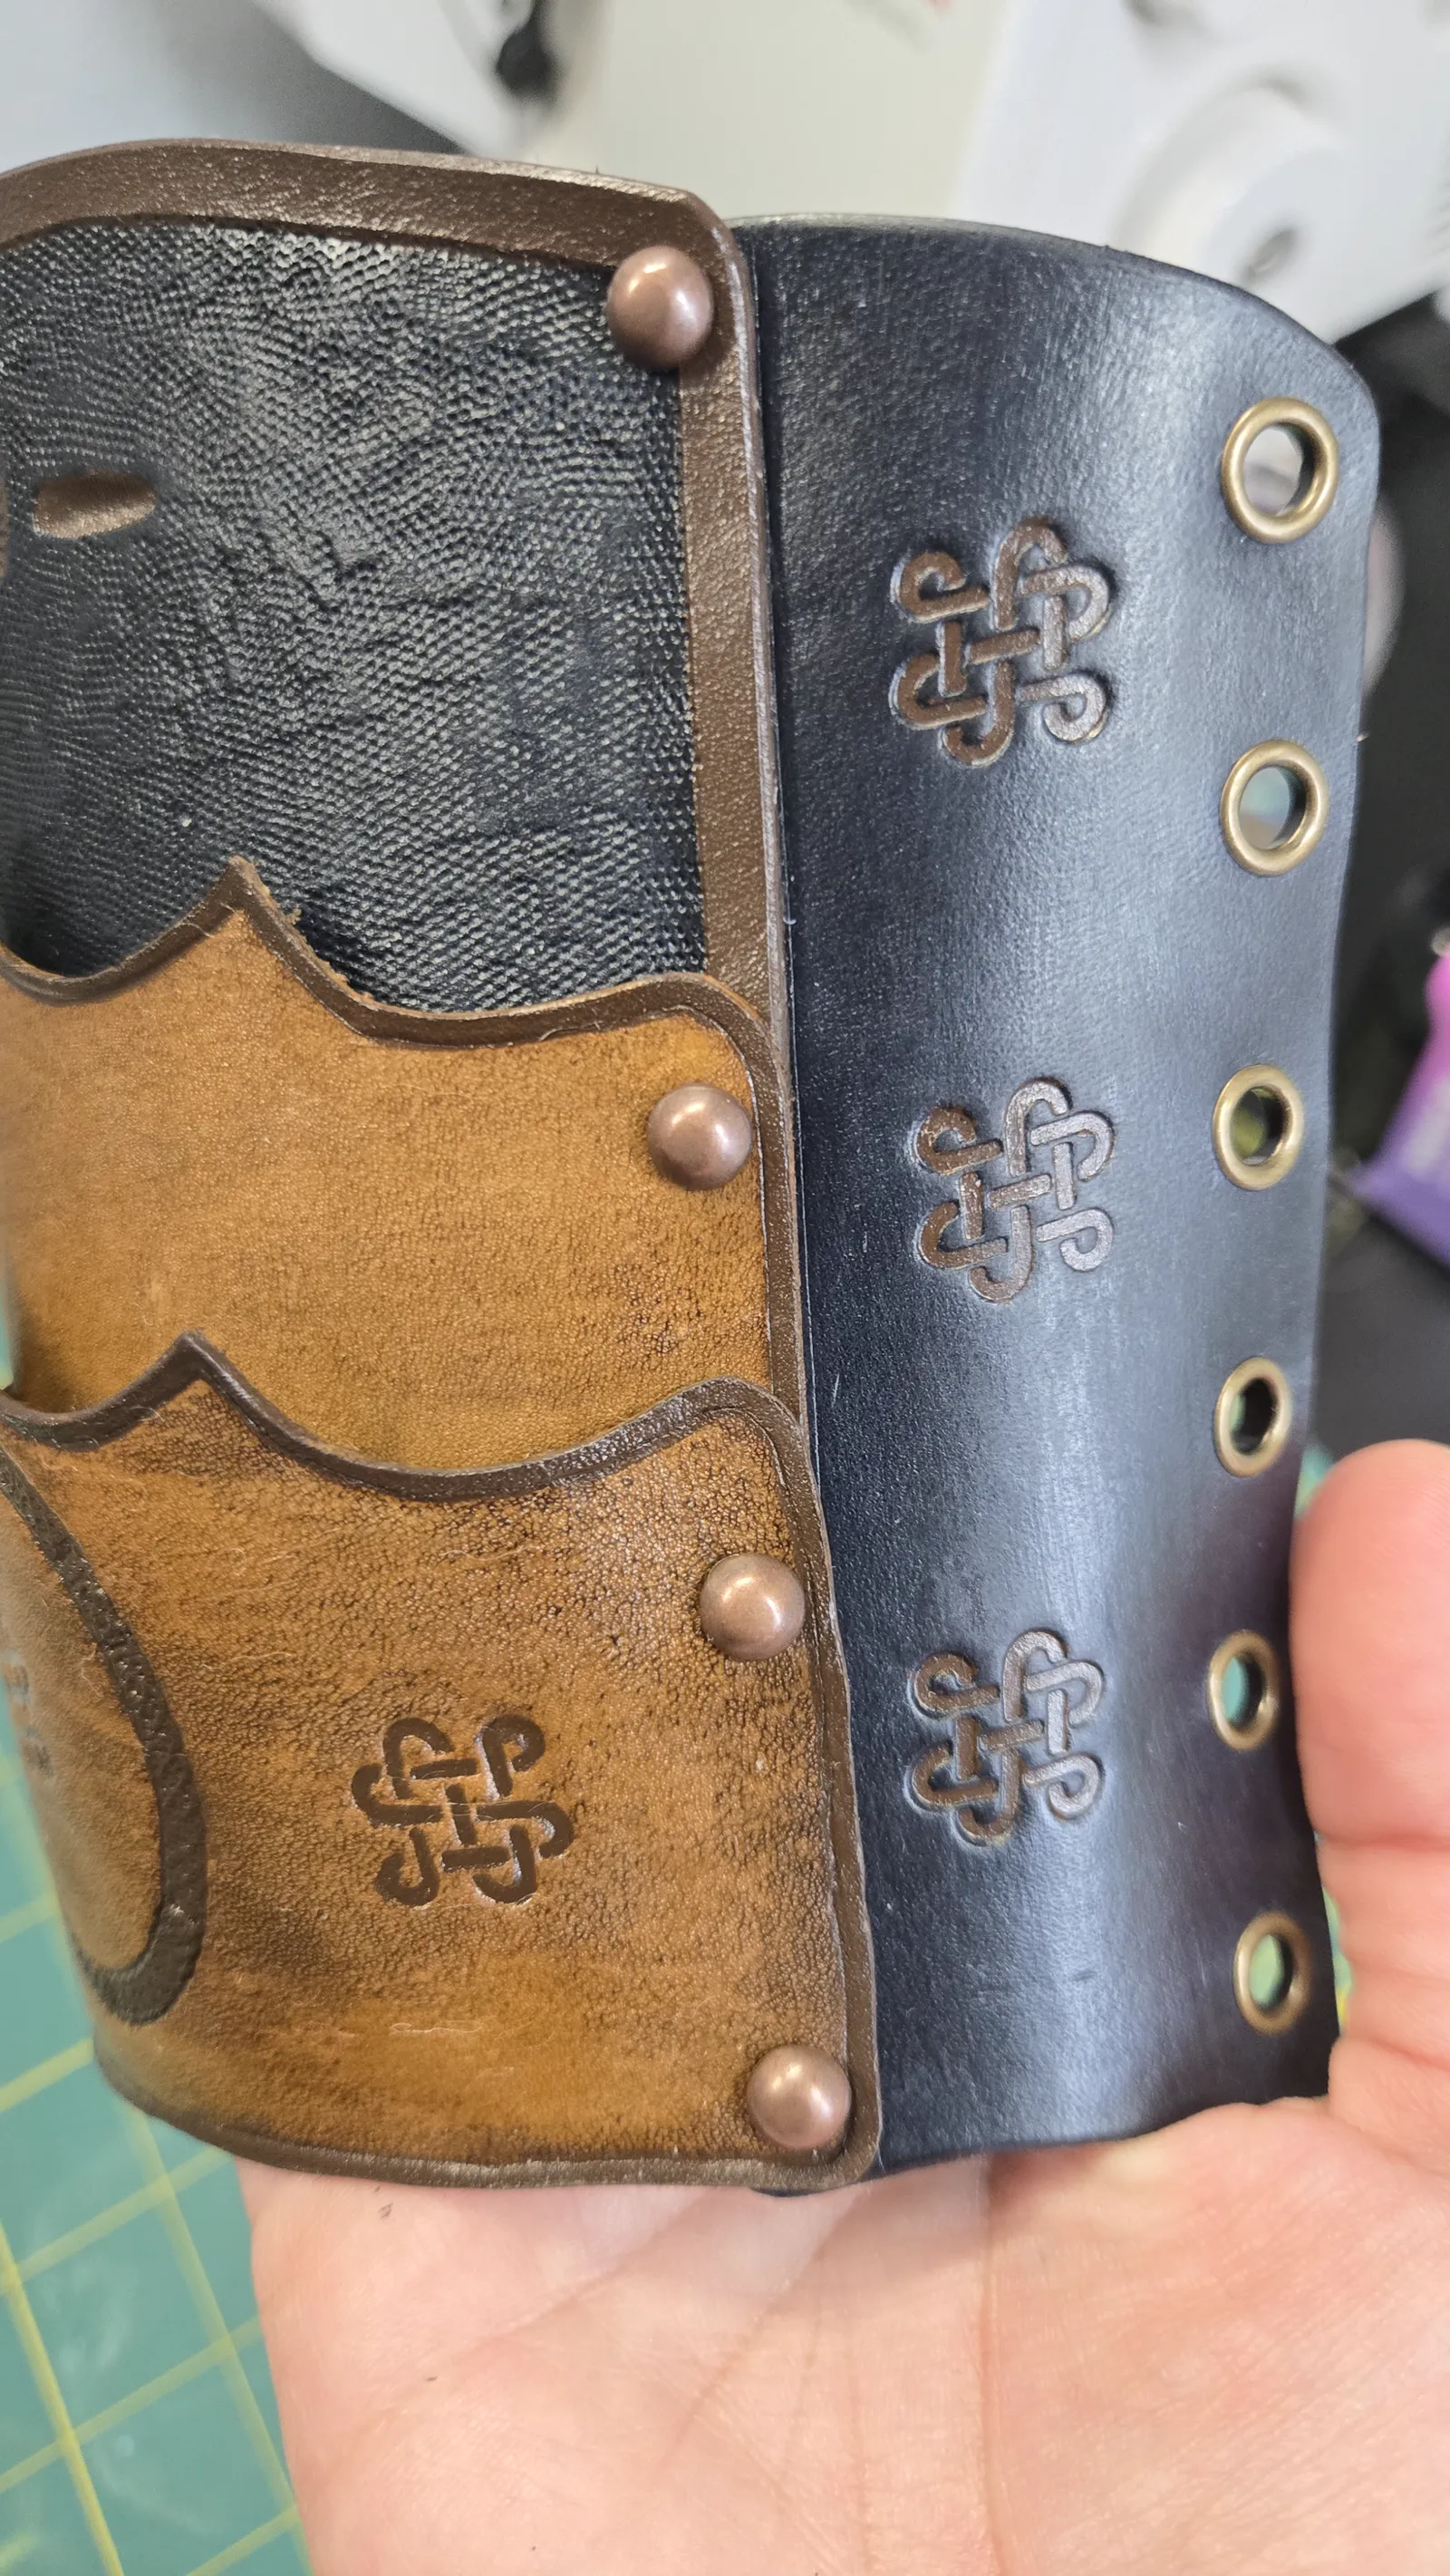
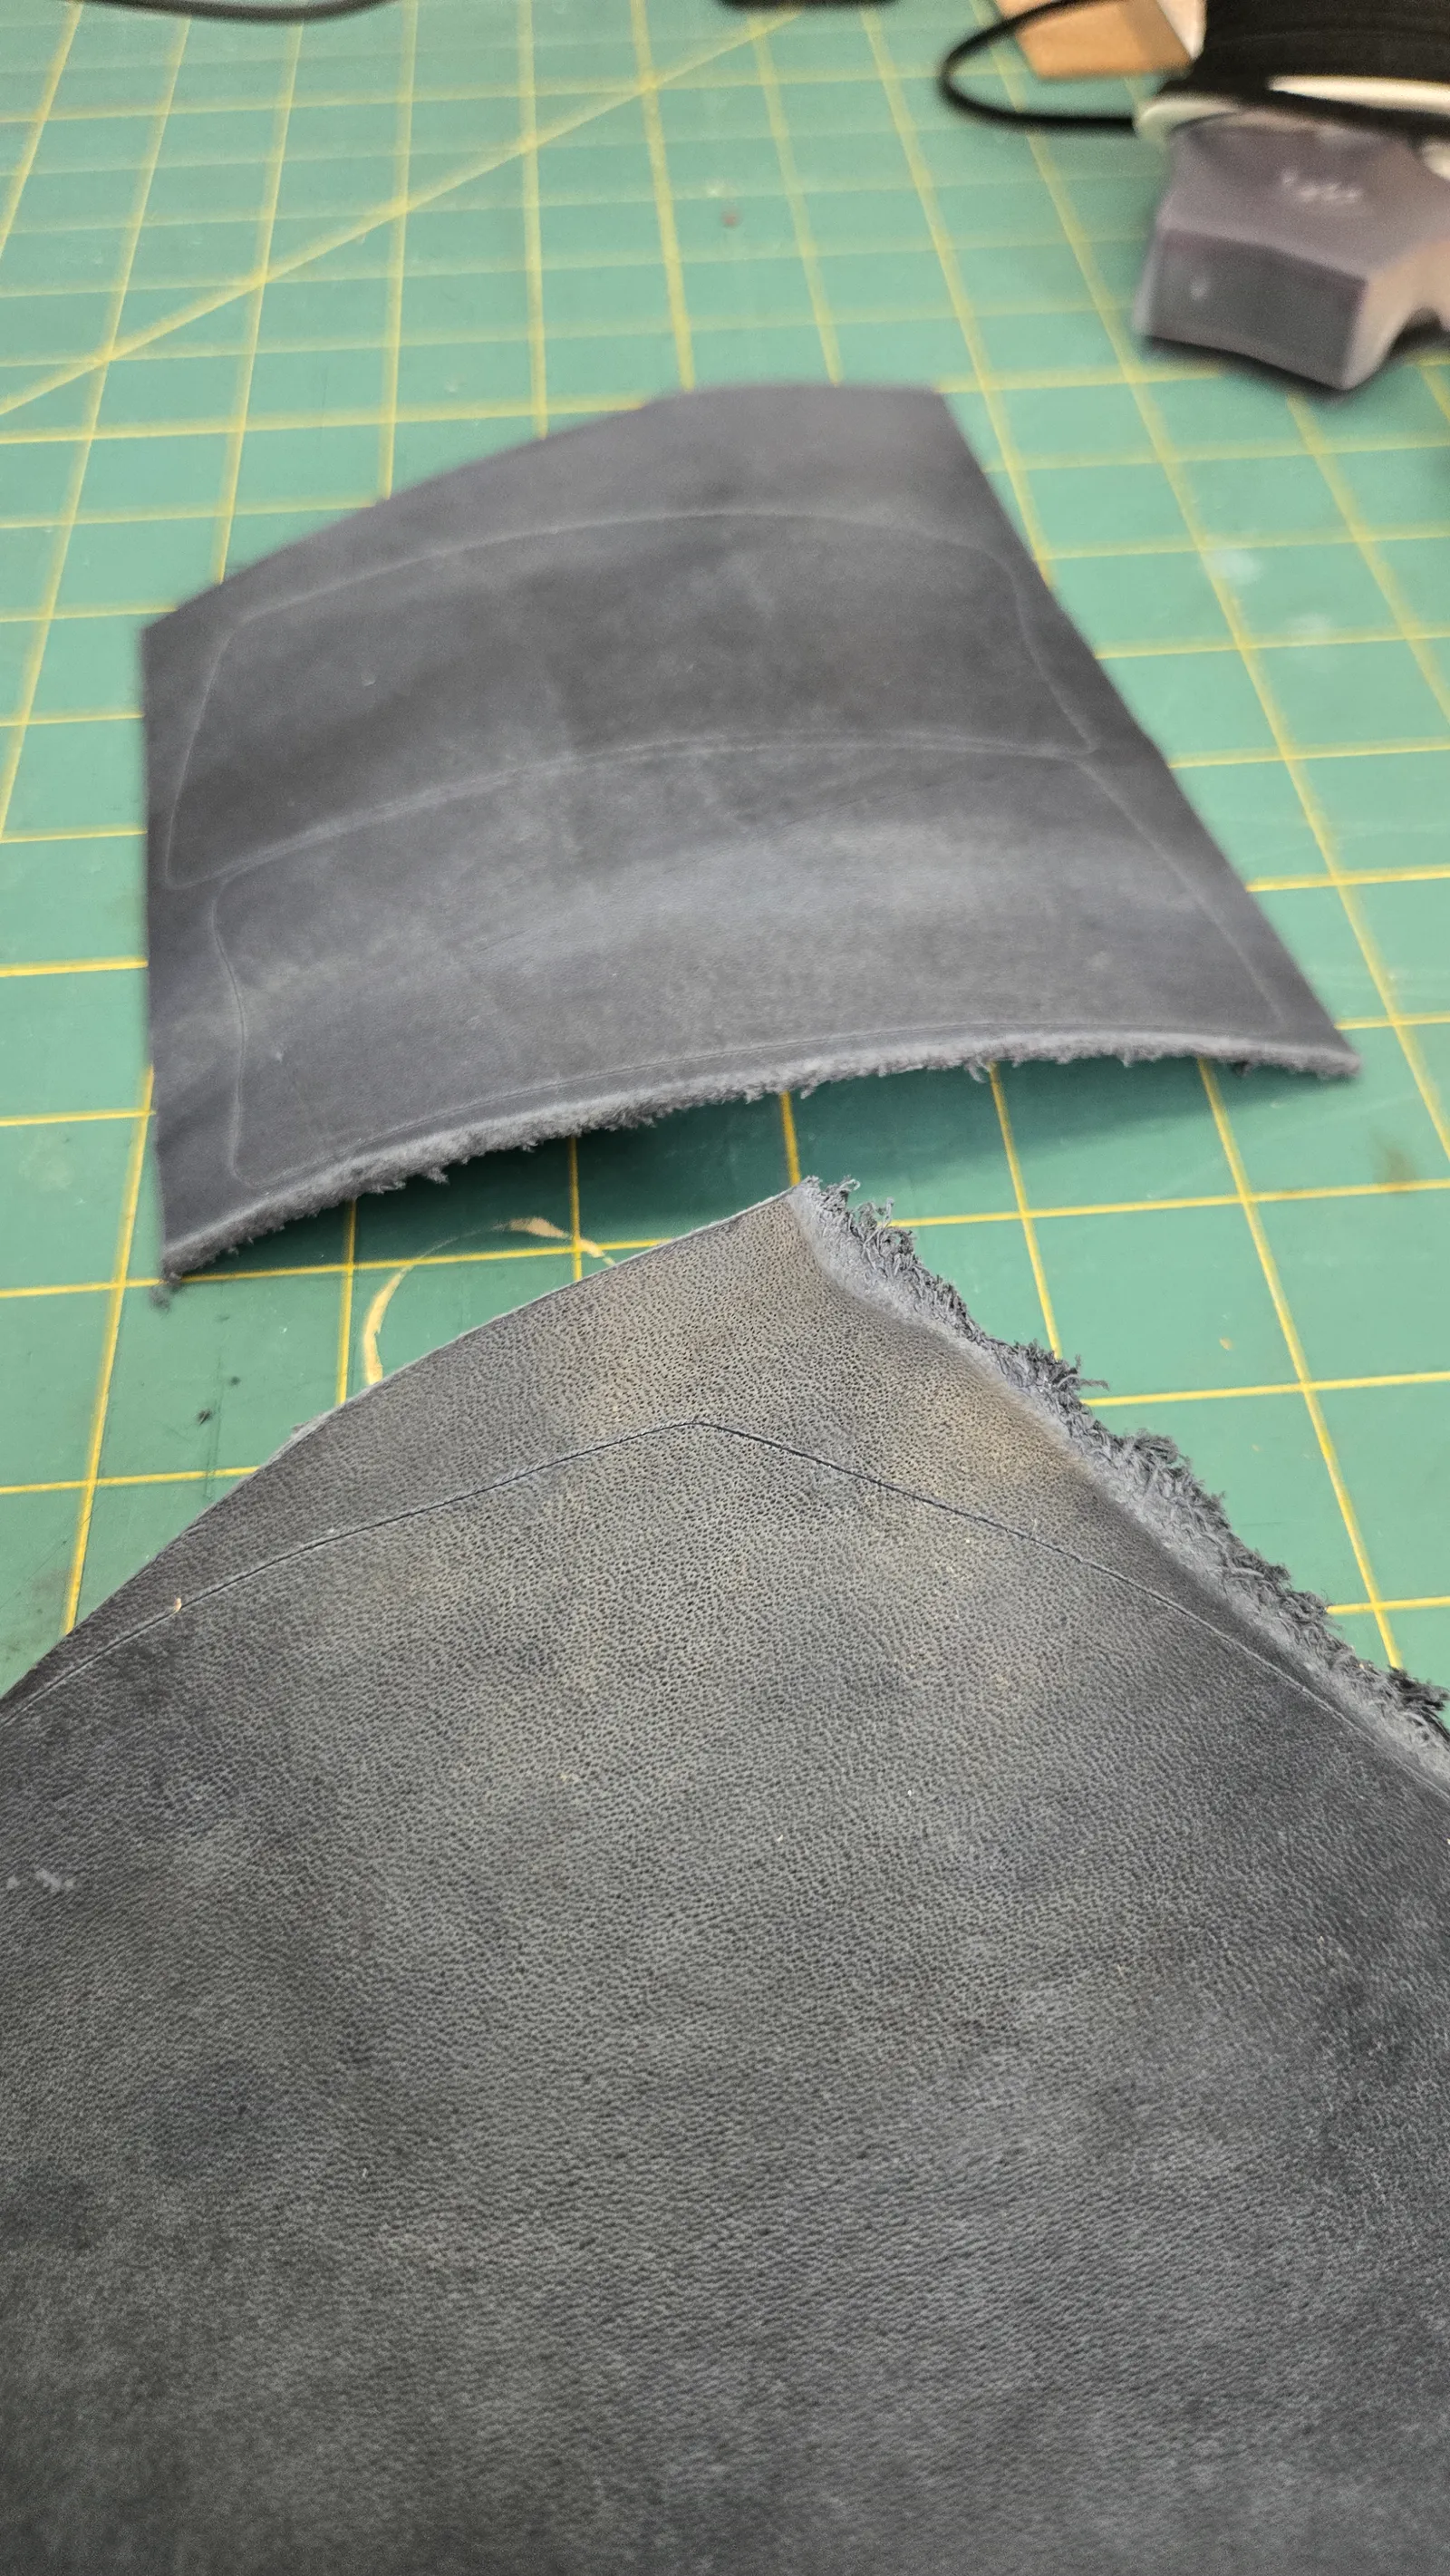
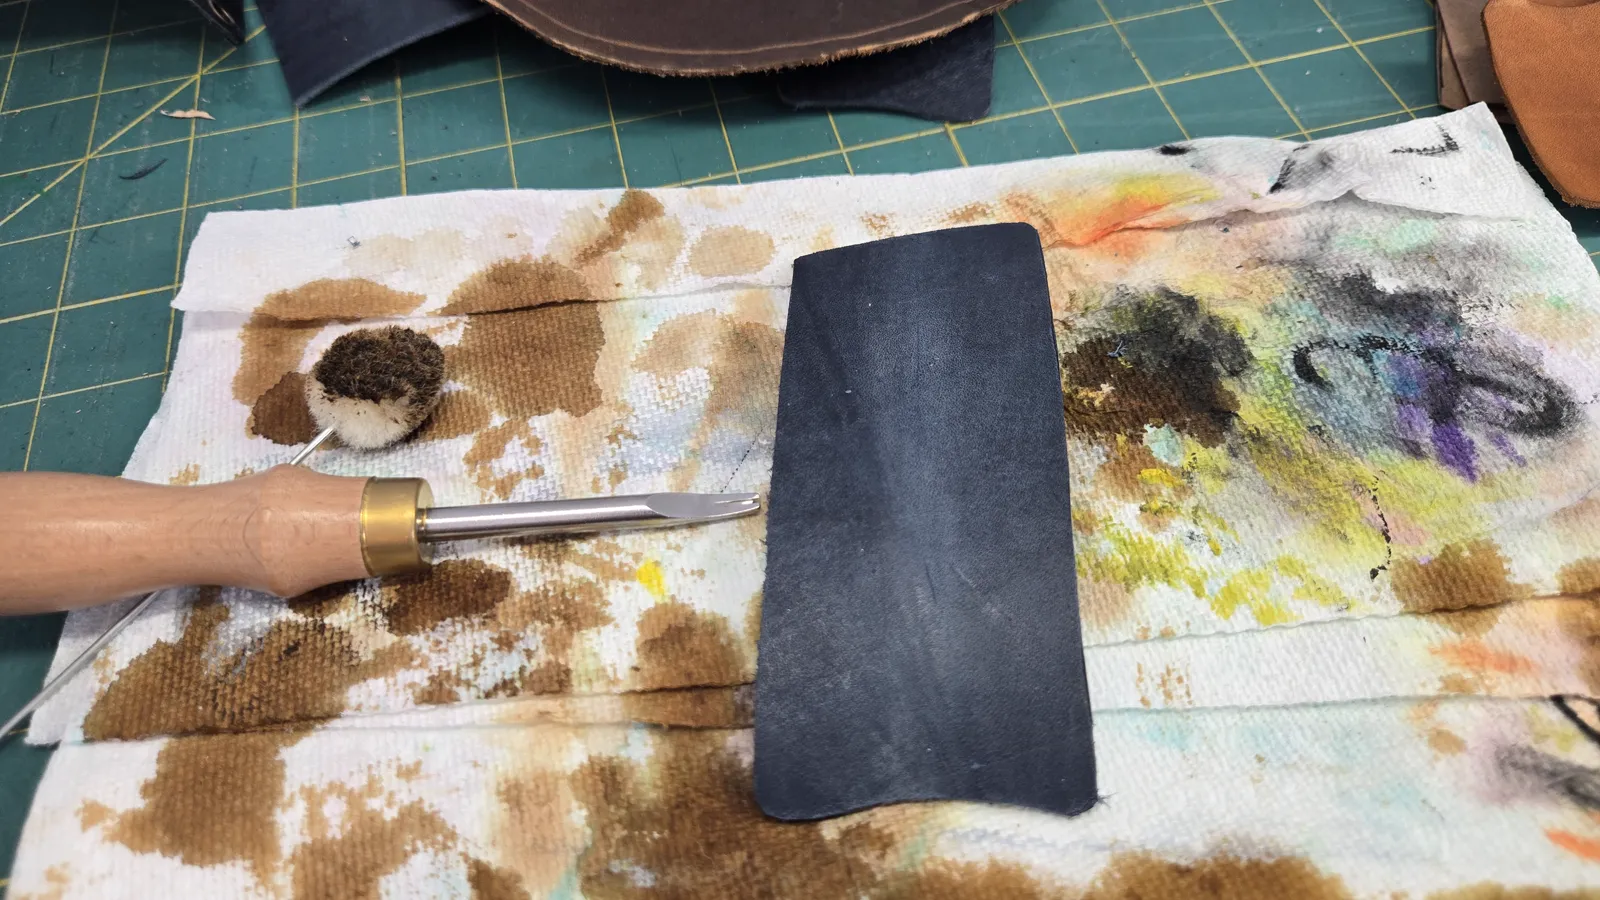
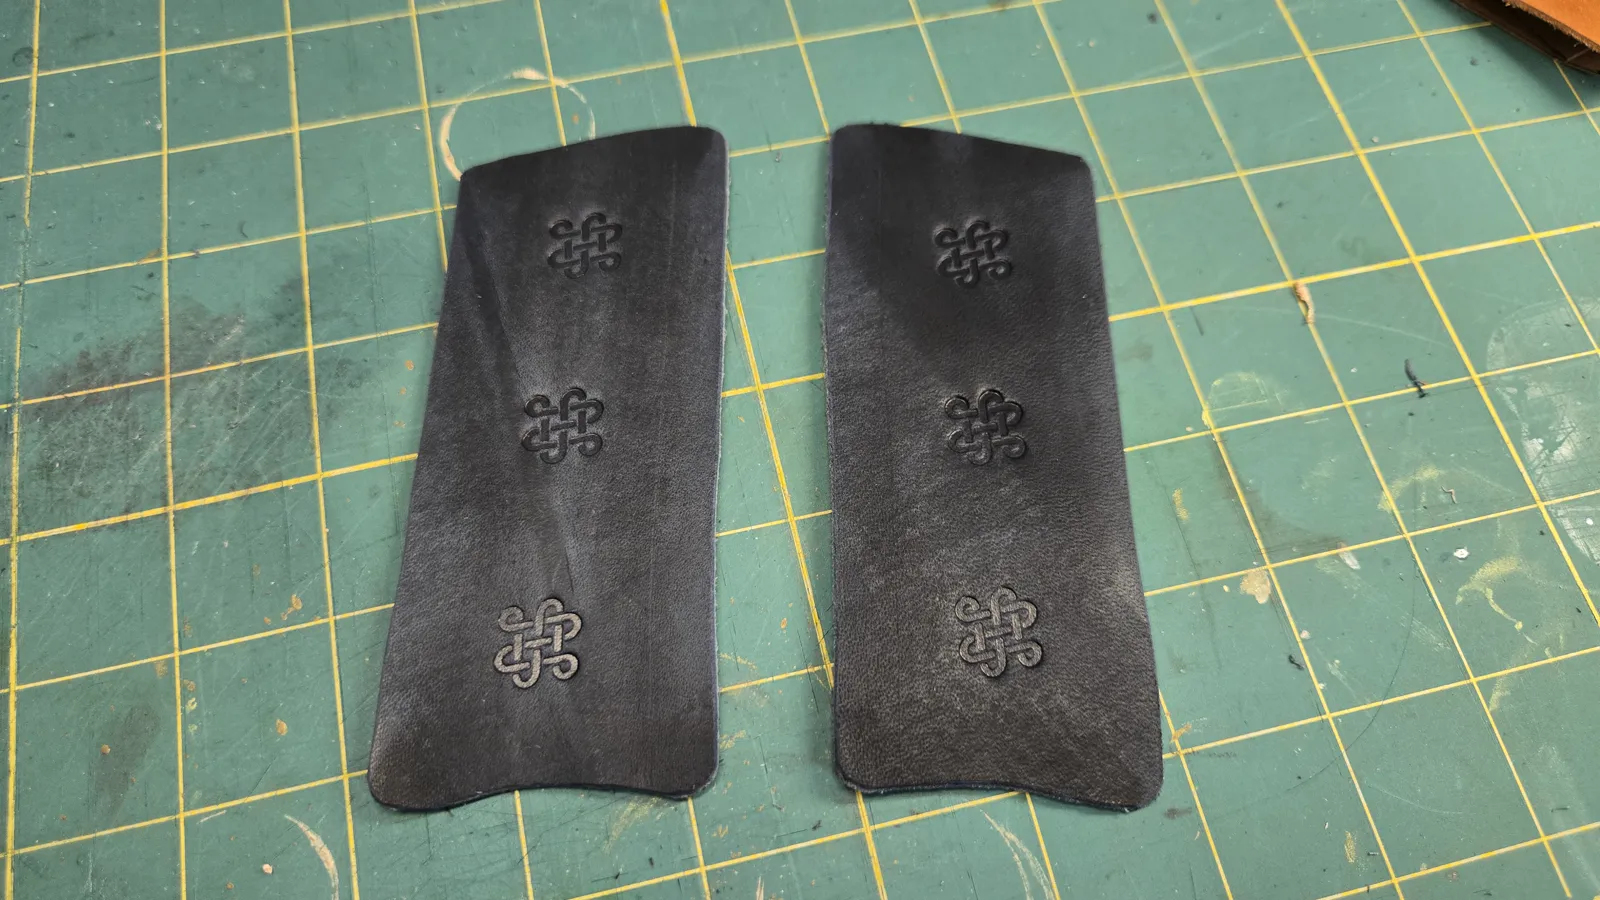
So I have recently been teaching myself how to work with leather and I have been using this YouTube video called SkillTree and I've been buying all of my products from Tandy Leather. I went in and I found this gorgeous red brazer that I thought was really cool and so I asked them if I could take a picture of it and And they said yes, so I did and I took it home and I tried to recreate it I do have smaller forearms than most men so my measurements were not exact Compared to the other one but as you can see here, I have two different kinds of leather. I have this dark blue thick It's about a I don't know three or four ounce Came pre-dyed blue when I place Some products on it it does change it to look darker, so it does can appear black, but it is starts out as this really thick blue gray leather And then I use some smaller thinner pieces For this middle piece here, so I'm going to show you how I did this
0:00
0:50
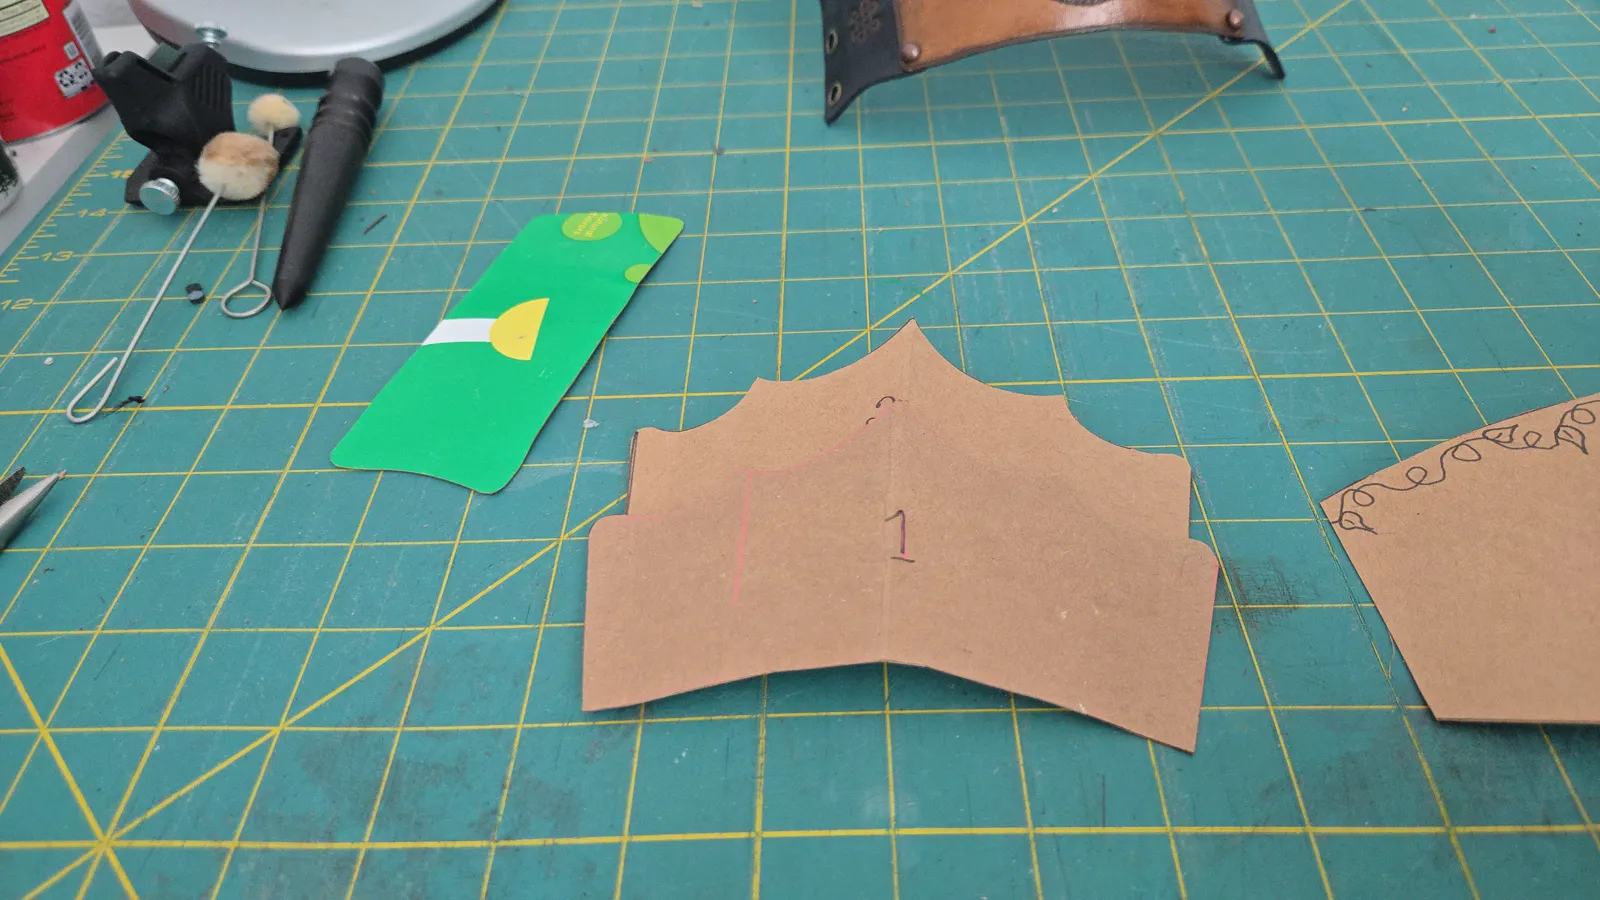
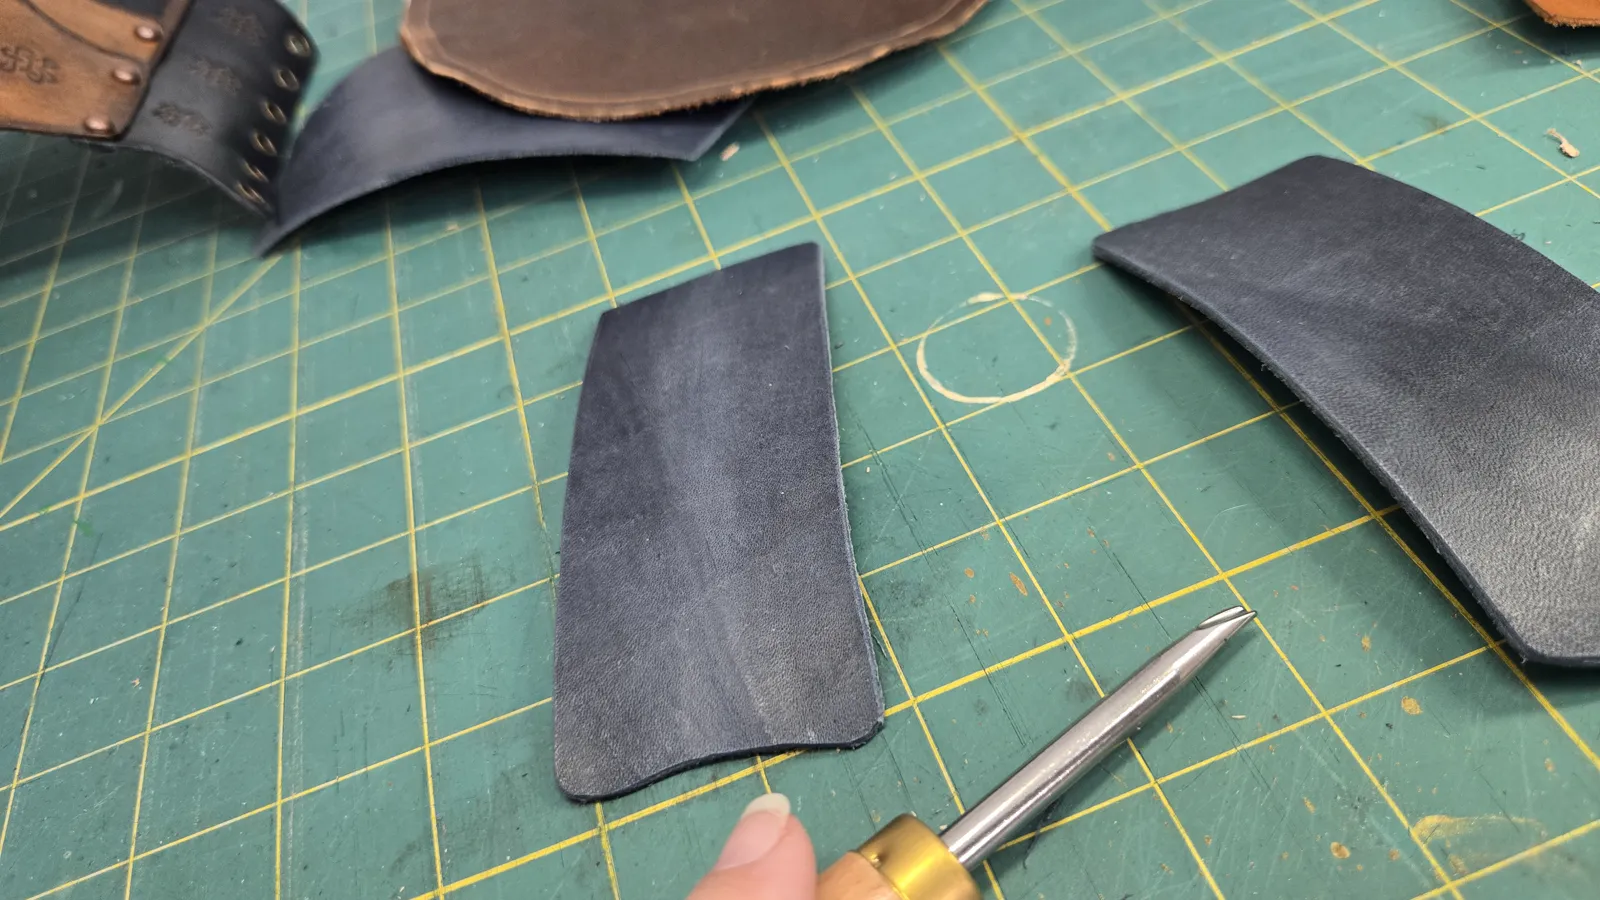
So the first thing I did was I took some cardboard and by looking at the piece I determined how many individual pieces I would need and guesstimated their sizes. That is the kind of crafter I am. I guesstimate everything and luckily for me it usually works out. So I used this piece turned two different ways while cutting the blue leather to make these side pieces here. And then this is the center large blue panel that goes there. And then we have our top piece which I have dubbed number one and number two hangs out in the middle like this. So when you squeeze them it gives them a raised appearance.
0:00
0:24
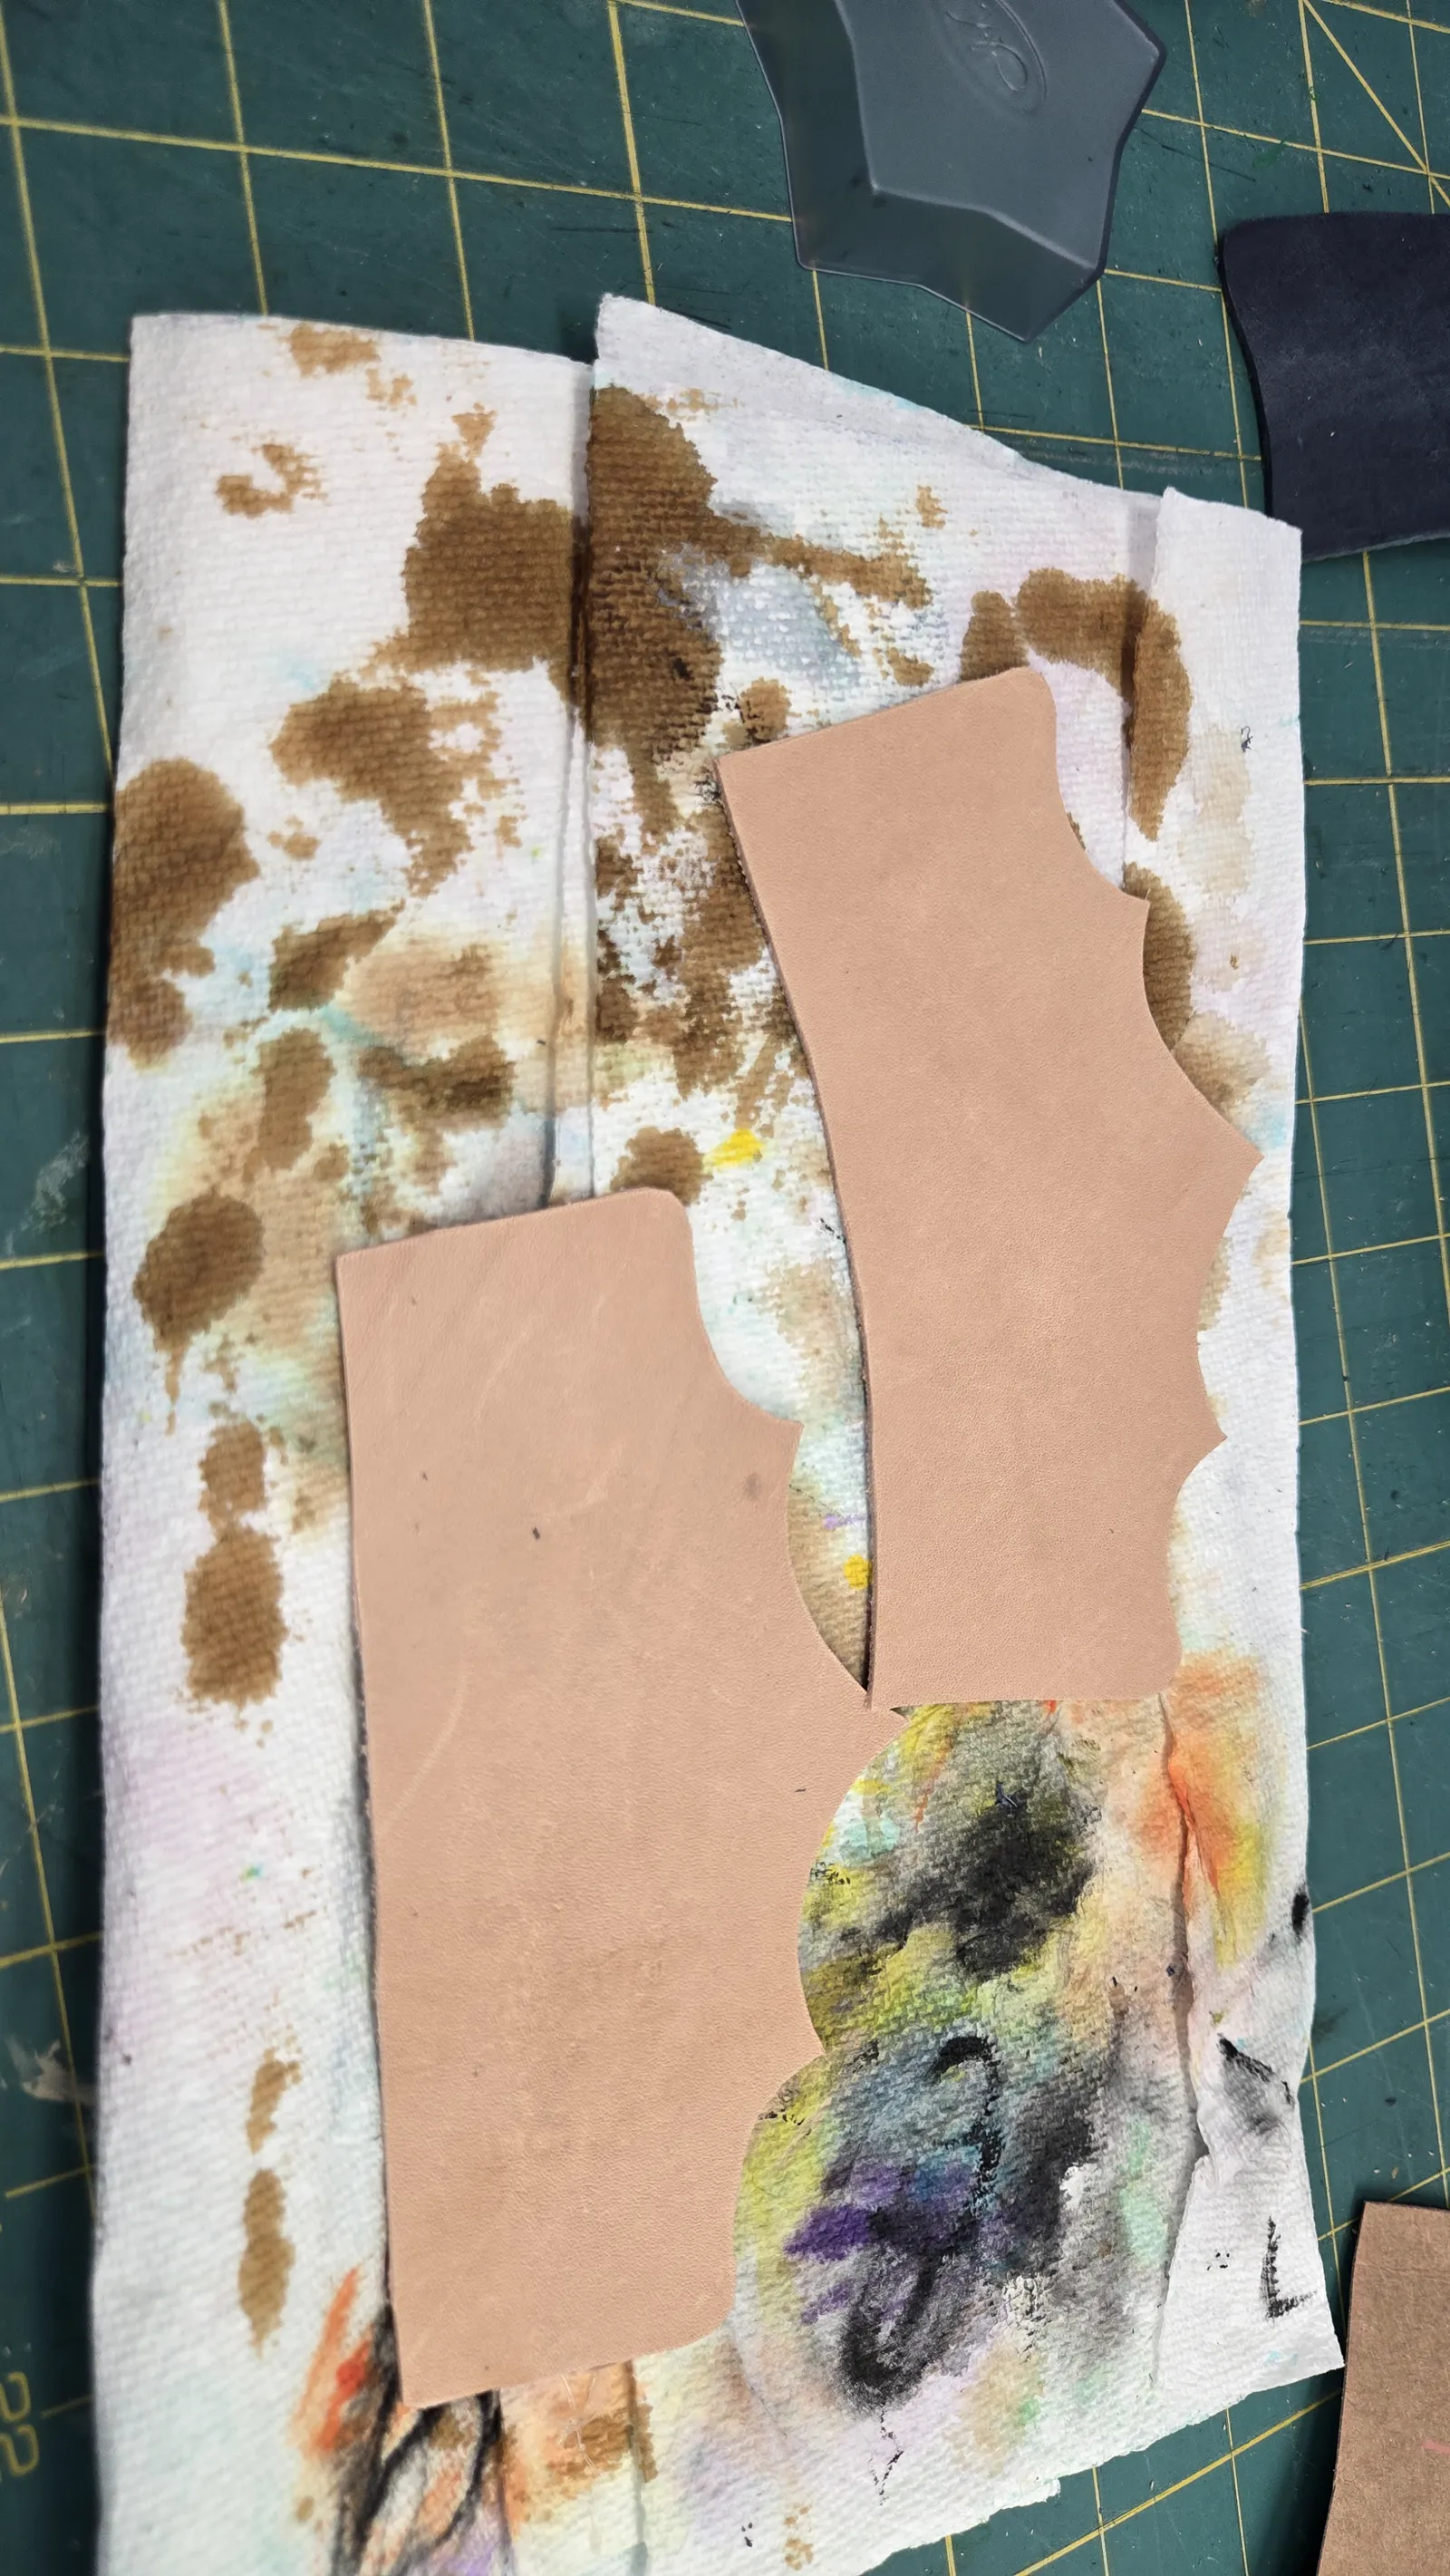
For this next part I'm going to create those three blue pieces with this leather that I have selected here and I'm going to make one panel here and then just flip it over and make the second panel there and then throw this piece right around there.
0:00
0:11
Okay, so once you have all that done and every piece cut out, depending on how fast you are, this part should only take you about 15 to 20 minutes.
0:00
1:03
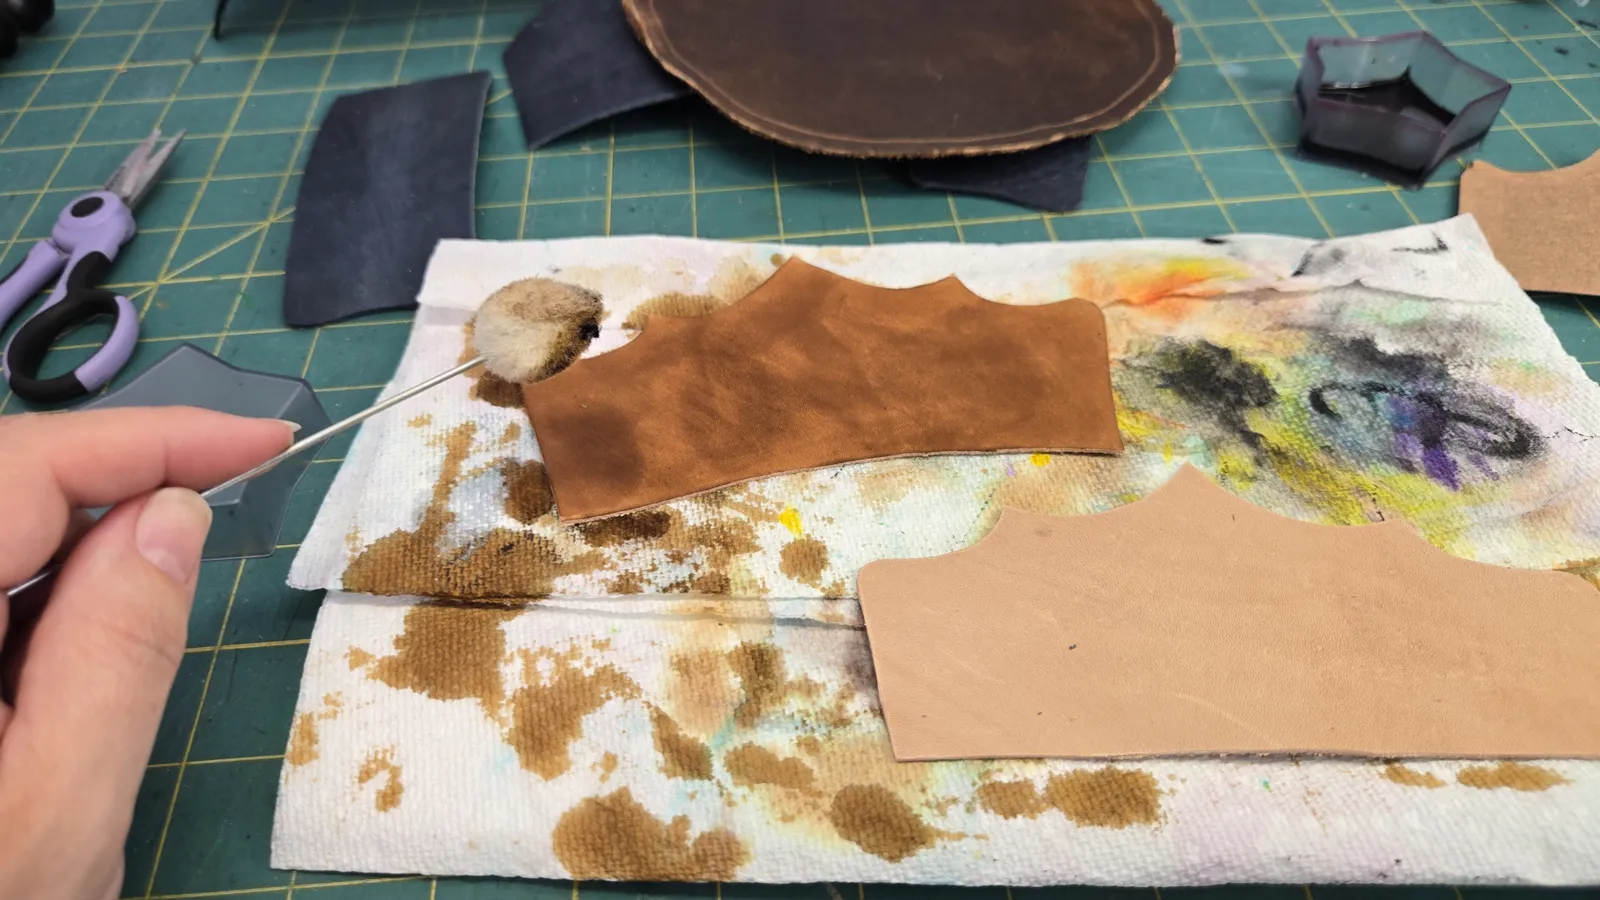
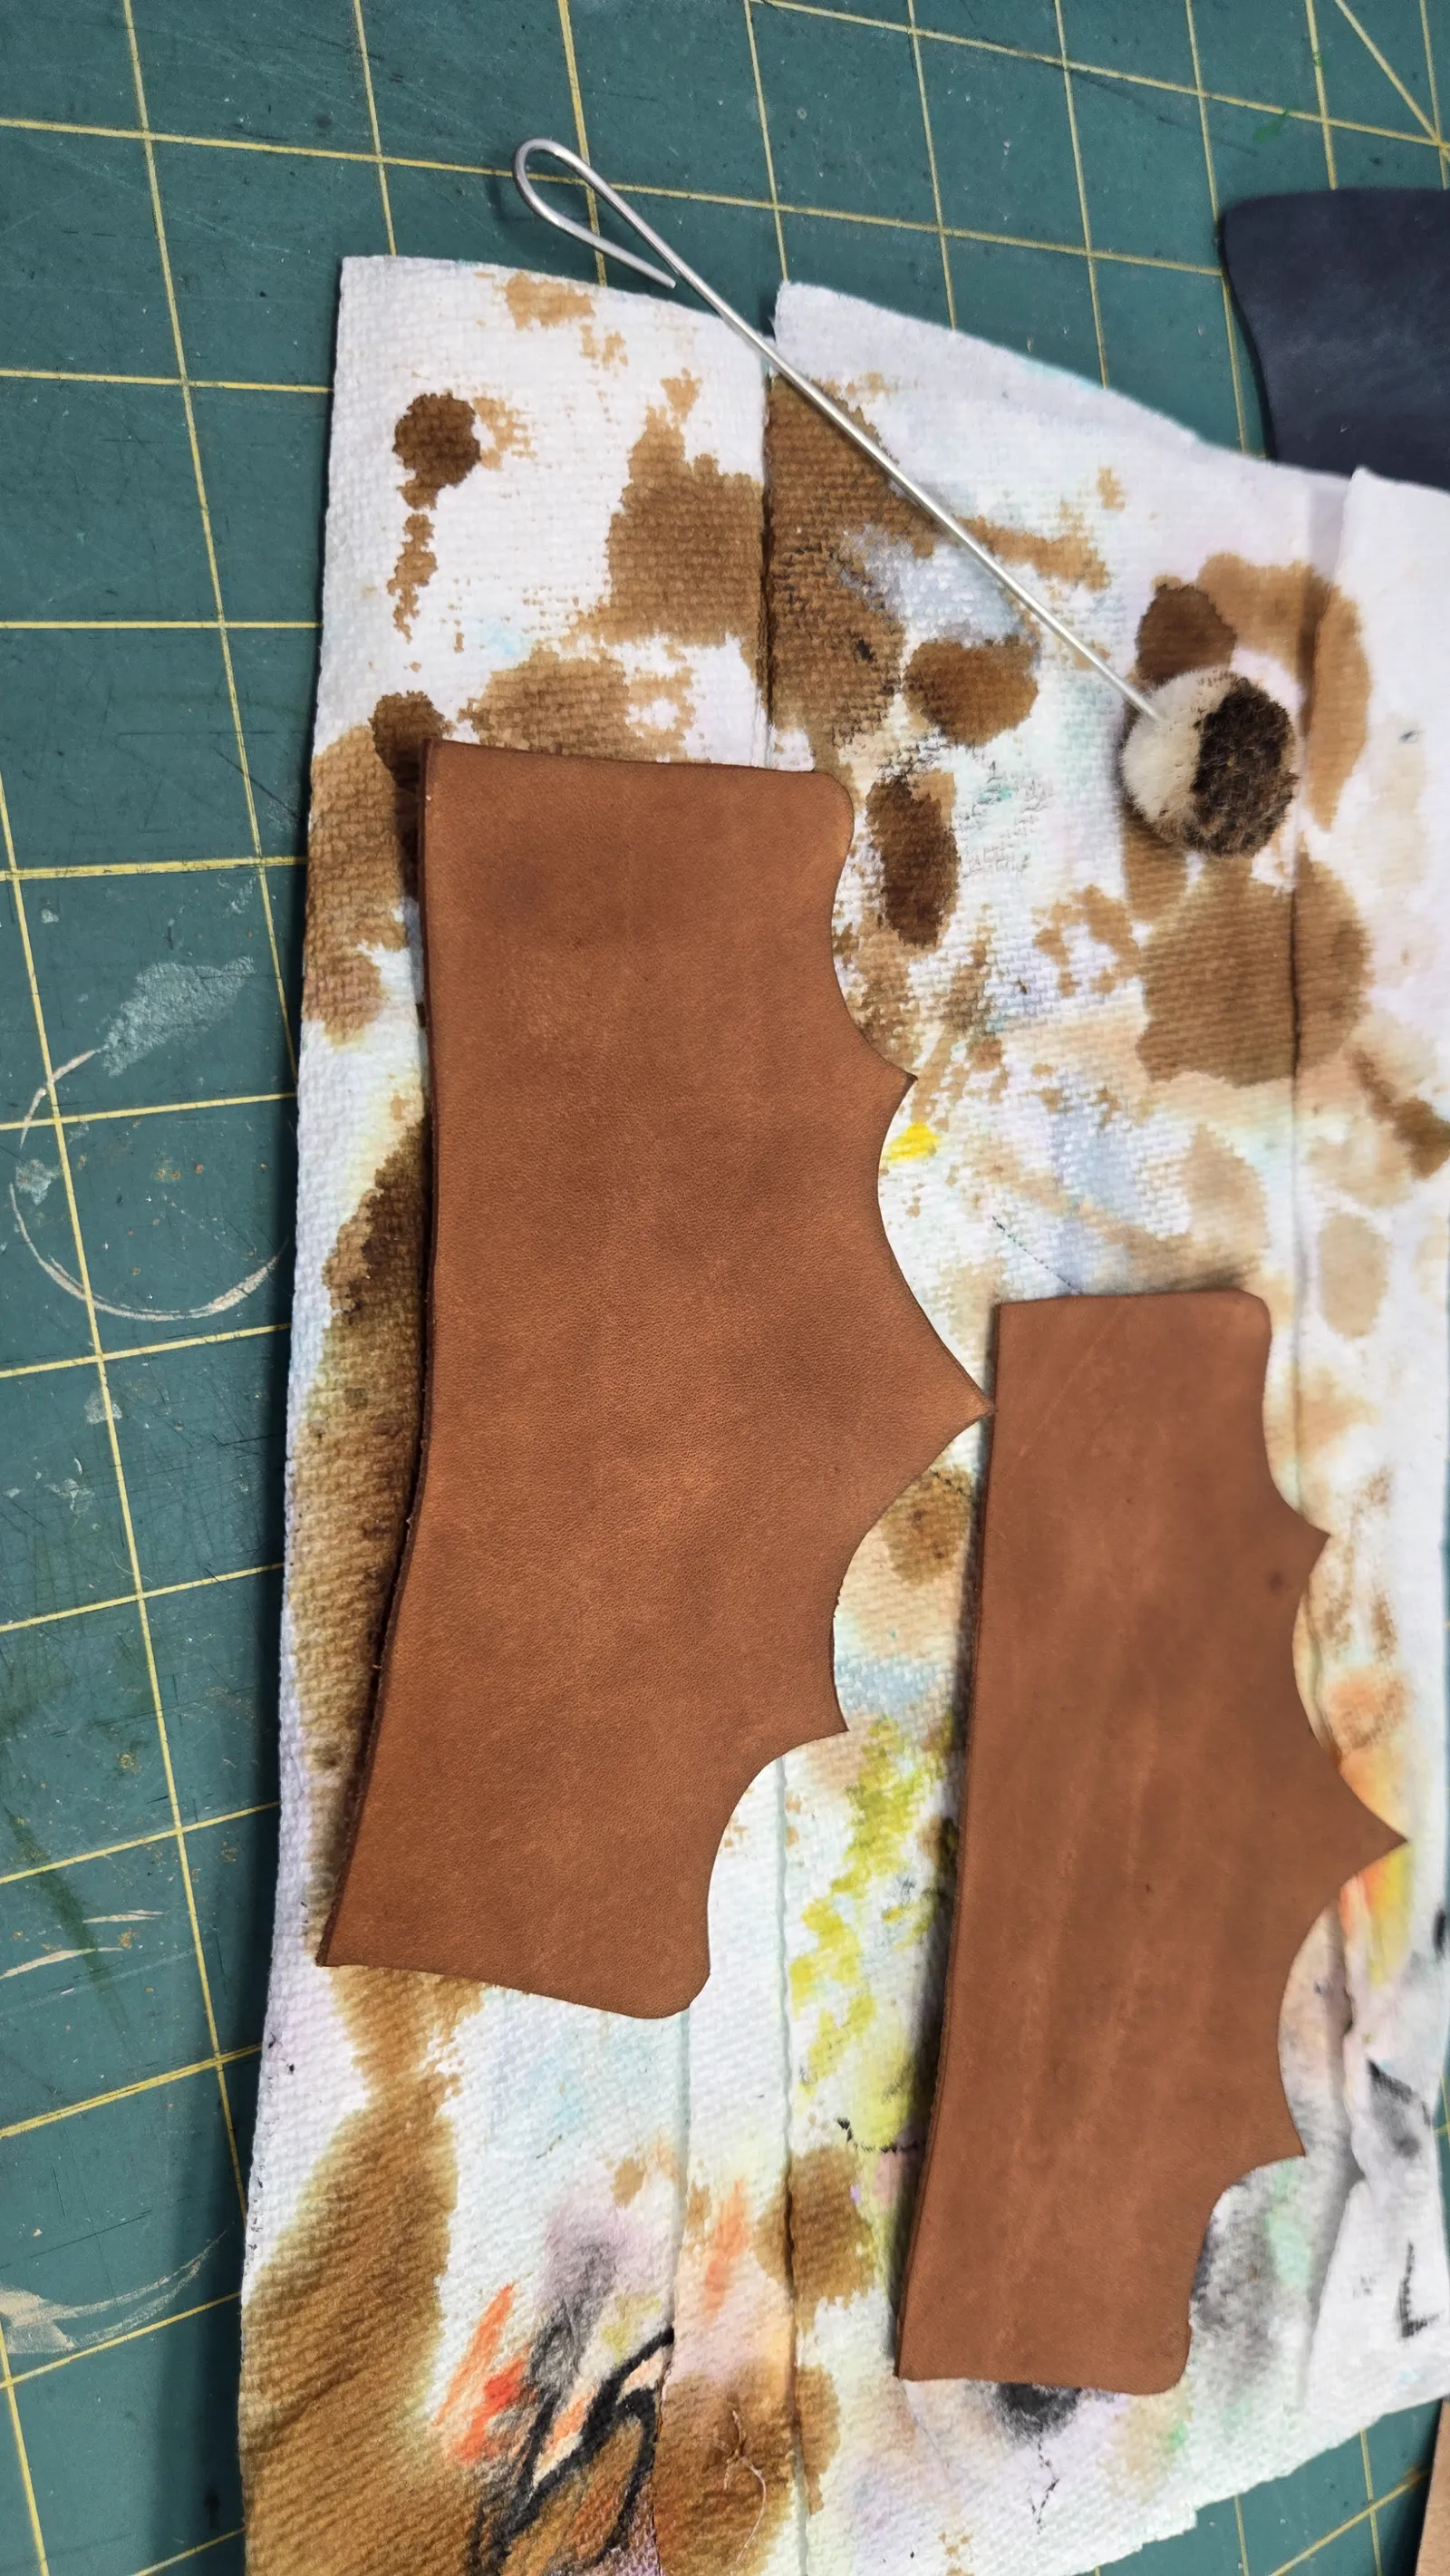
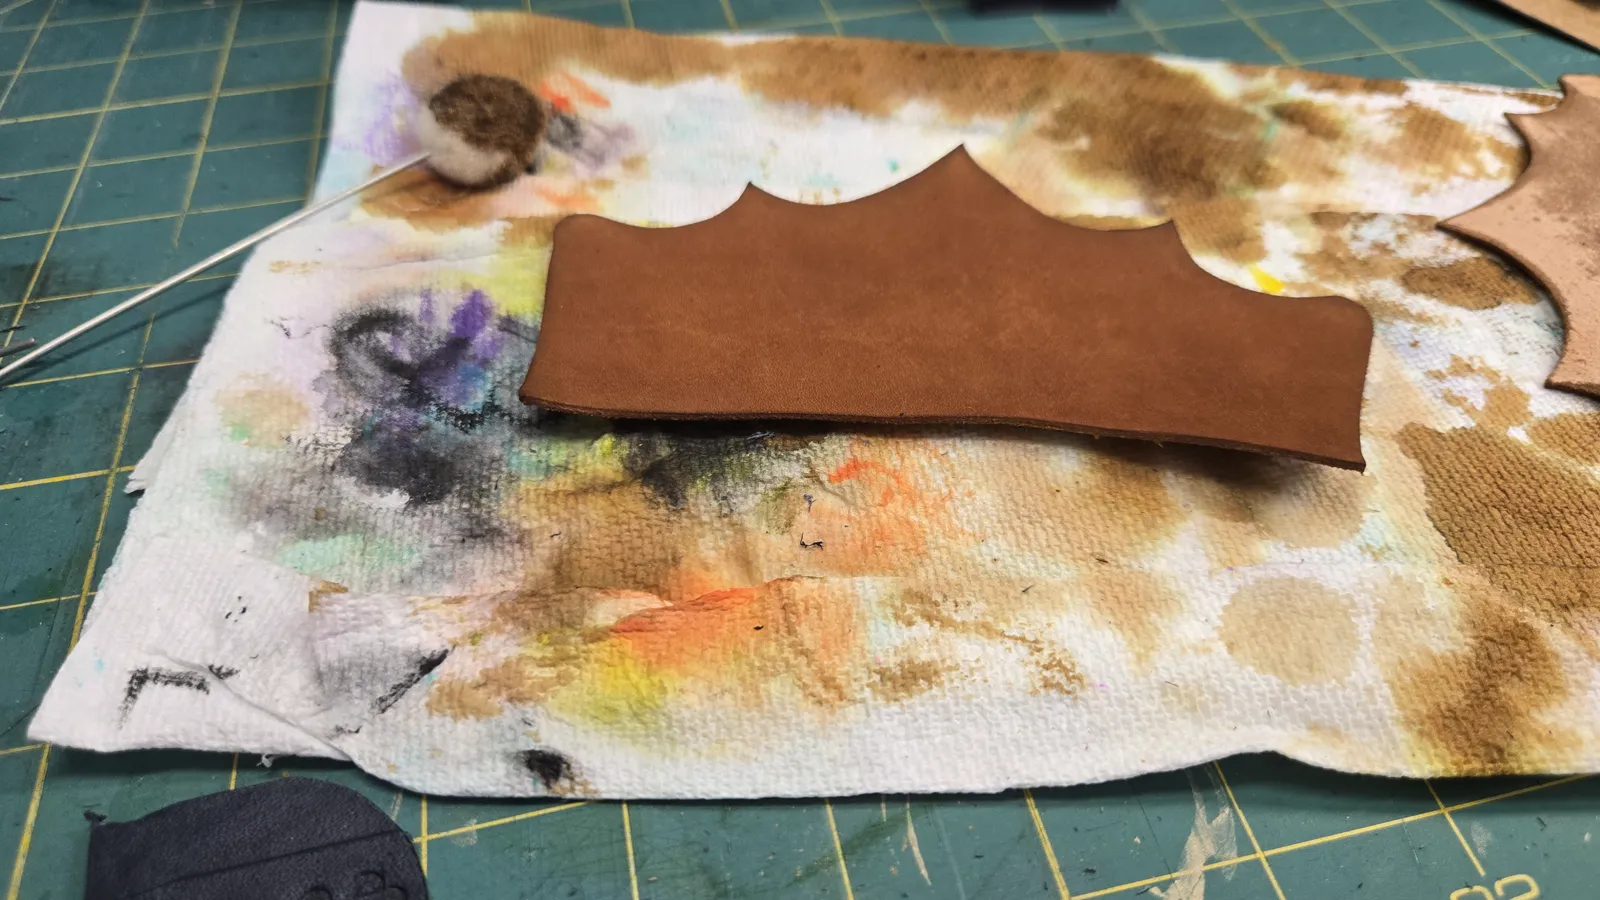
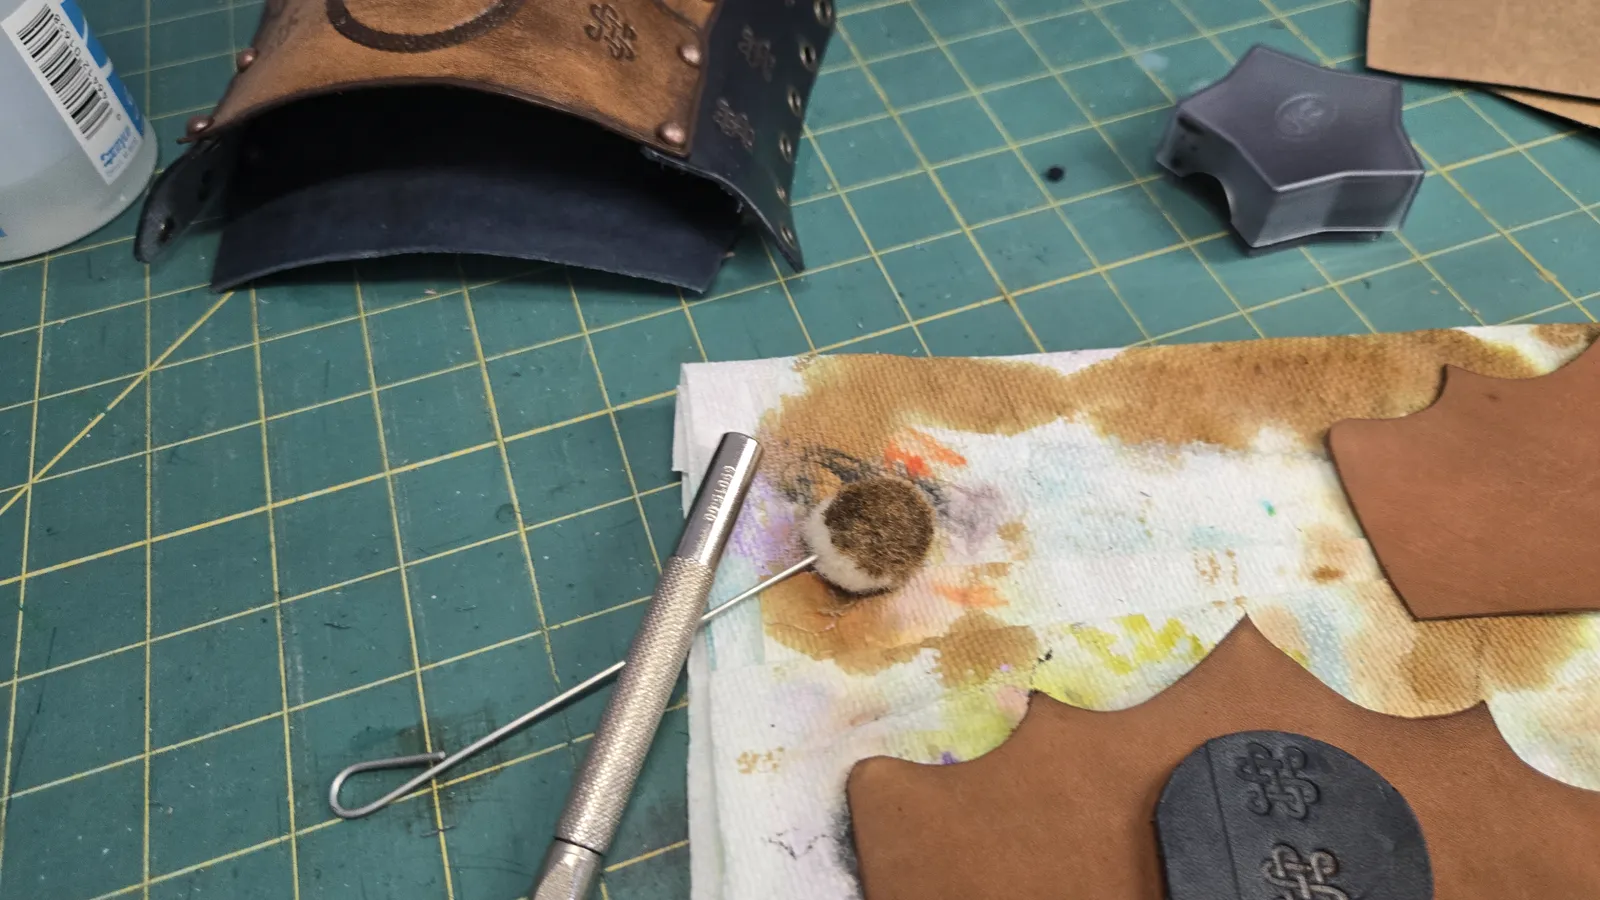
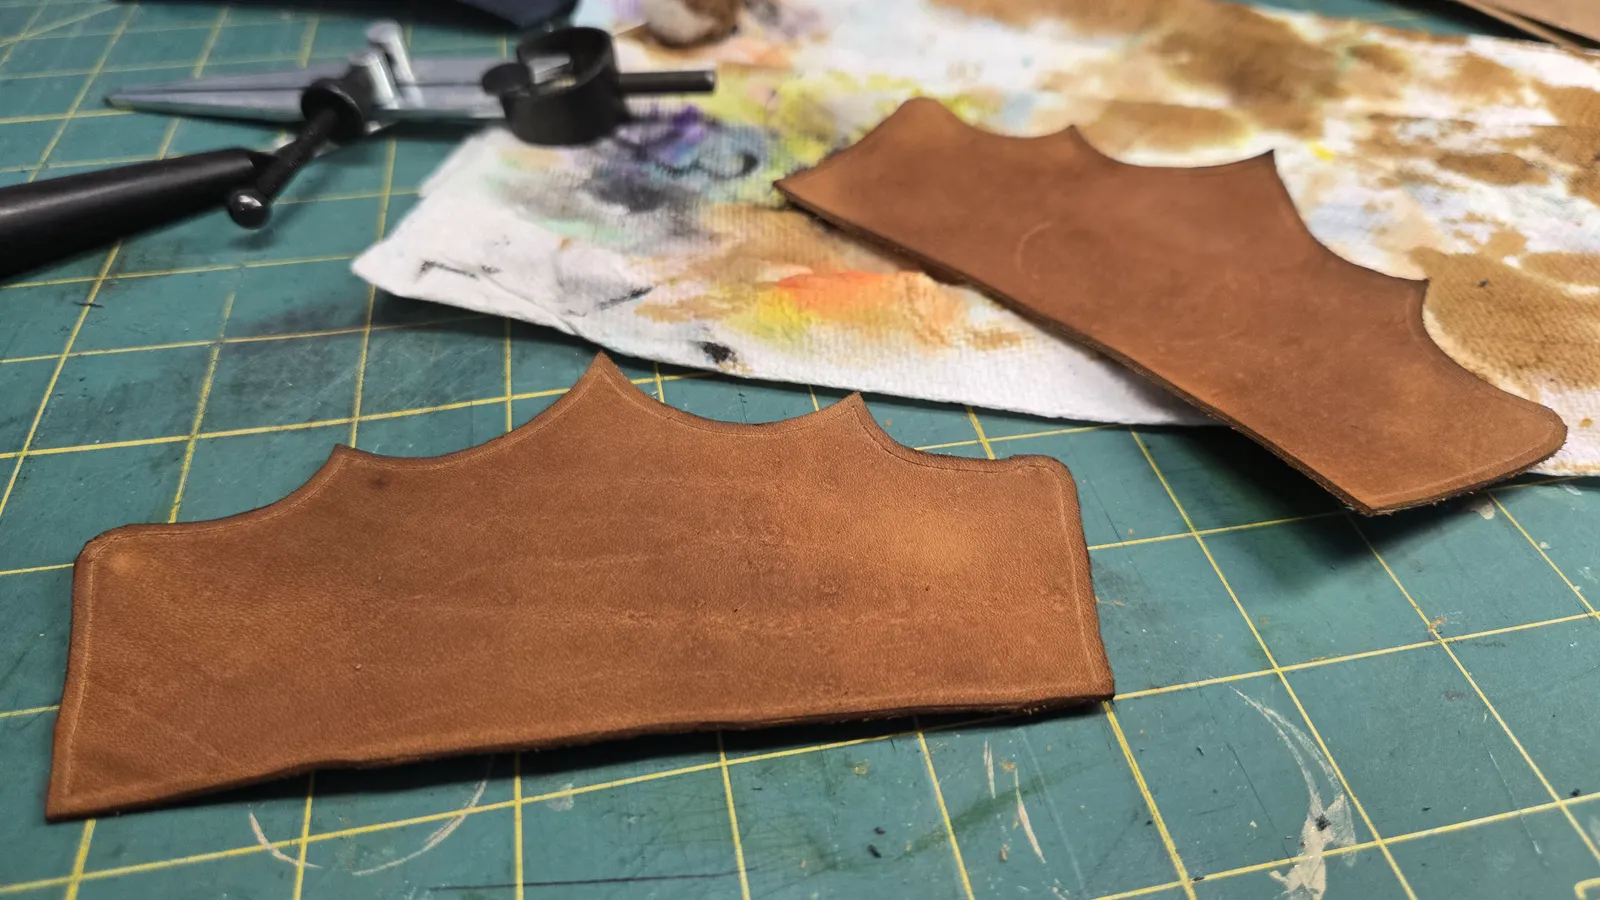
So for these two pieces here, I used the leather dye Was it Java brown? So Java brown is actually a little darker than what you see behind me here and that is because I Wanted a Softer more subtle brown. So what I did was I just took a small container And I filled it with water and just poured Probably about a Tablespoon of the Java brown mixed with the water now when you do this because it is diluted you do have to Do more layers the first layer is Barely going to show it all once it's dried. So I actually apply about four or five layers To get this very soft looking brown
0:00
0:23
In contrast here you can see this is the same leather that I used for this that I used for this bag that I'm working on here and this is the Java Brown undiluted. So you can play with your dies and dilute them to get more subtle colors if you choose to.
0:00
0:11
One thing you want to remember is when you are doing this you also you want to get the fronts and the backs So it gives it a nice rounded ledge there
0:00
0:36
So for this next portion These don't really actually get a whole lot of work done on them. I actually really enjoy doing these pieces because it's a three little semblums and And some polish and some holes. So these are the easiest part of the whole piece. So I do take my compass and I mark out about a little less than a Half an inch from the edge here and just run a line down that Give me one second
0:00
0:37
Okay, so here we have the, we can see here, just shy of a half inch, and I'm going to run, make sure that you have these facing the correct direction. So the higher end is going to go, this is going to be the inside corner here. So you place them facing each other with both high points here, and you're going to run a straight line going down both of them, and that is just to help you attach these later and to place your rivets so that everything lines up perfectly.
0:00
1:30
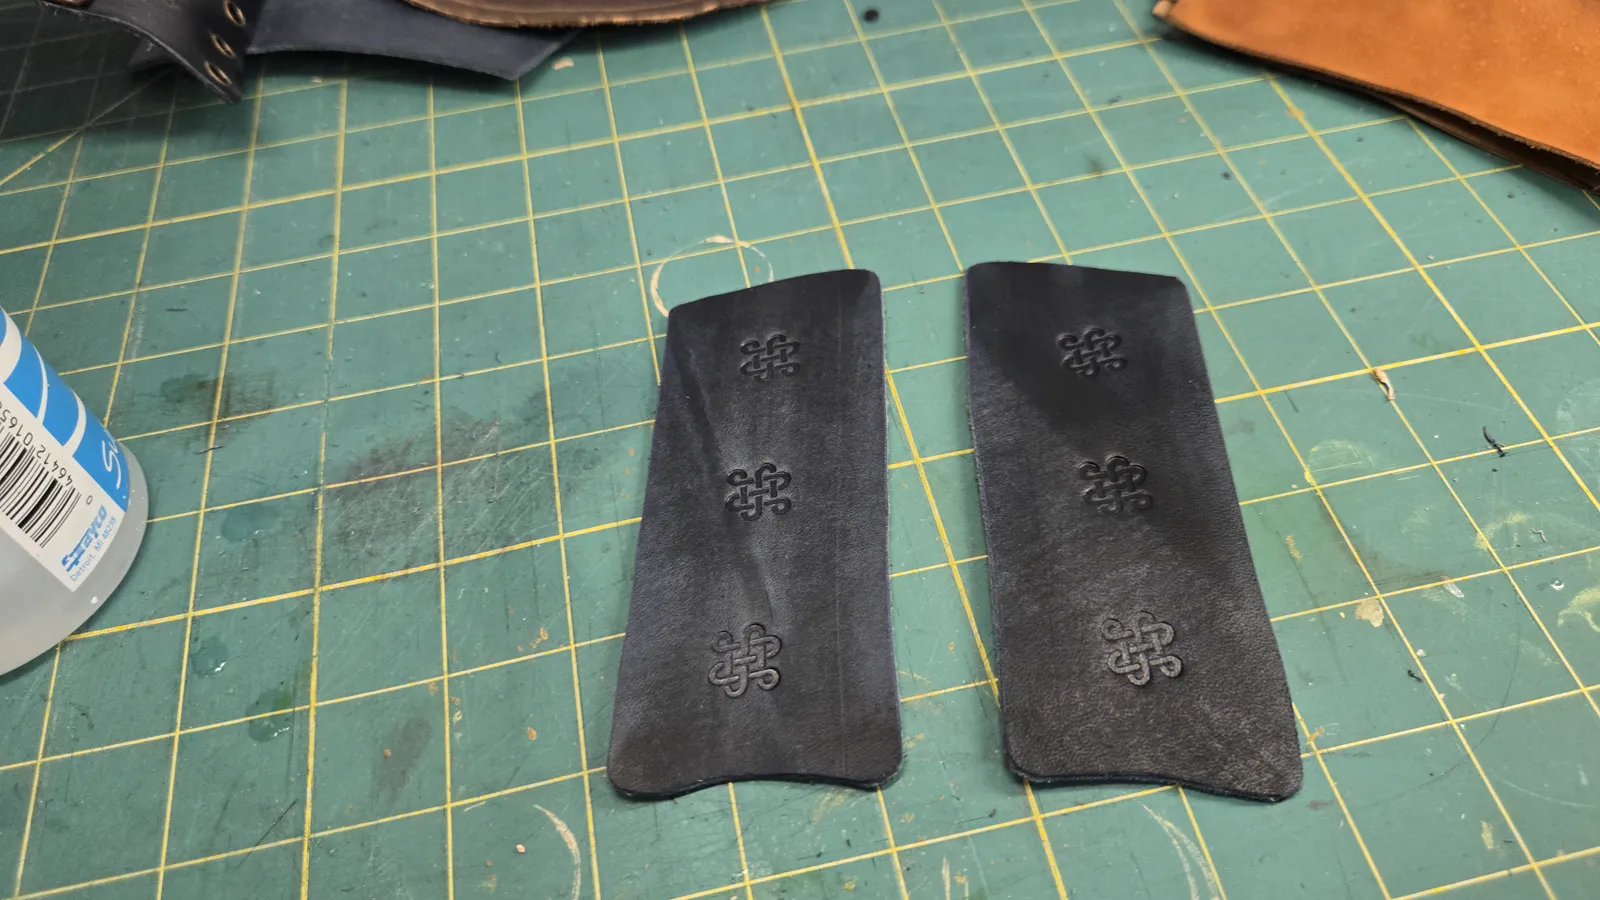
So this is my one-ton press. I also bought this off the TikTok shop because that's where you get all your cool shit if you're a crafter. And this is the die that we are going to use for today's project. There is a hole right under here. You just make sure that this is open enough to receive that piece. And then you turn this wheel to make it stay. And I actually have this really cool handy-dandy little guy that fits any socket. I just kind of blunt it up there and twist and give it a nice flock. And that way it stays in place for me. I place my material under the press. I like to do the center one first. It really helps me align the other two. So once I get it where I want it, roll my lever and give it a good tug. I do hold it for like 10 seconds. I don't know if that helps or not but I feel like it does.
0:00
0:08
And just like that we have our first image pressed into the leather. I'm going to go ahead and do the other two now.
0:00
1:44